How to Polish Stainless Steel – Step by Step for Beginners
From cutting-edge kitchens and appliances to auto components and building facades, stainless steel is ubiquitous, and maintaining its stunning lustre requires more than a simple wipe. The true mirror finish can only be achieved with precision, patience and the right technique. Stainless steel has a greater density and heat characteristics than softer metals, making it more challenging to polish and more likely to be heat-damaged. This guide will help you understand how to polish stainless steel, the stainless steel polishing techniques and how to shine stainless steel from preparation to professional-grade finishing.
Understanding Stainless Steel and Why Polishing Matters
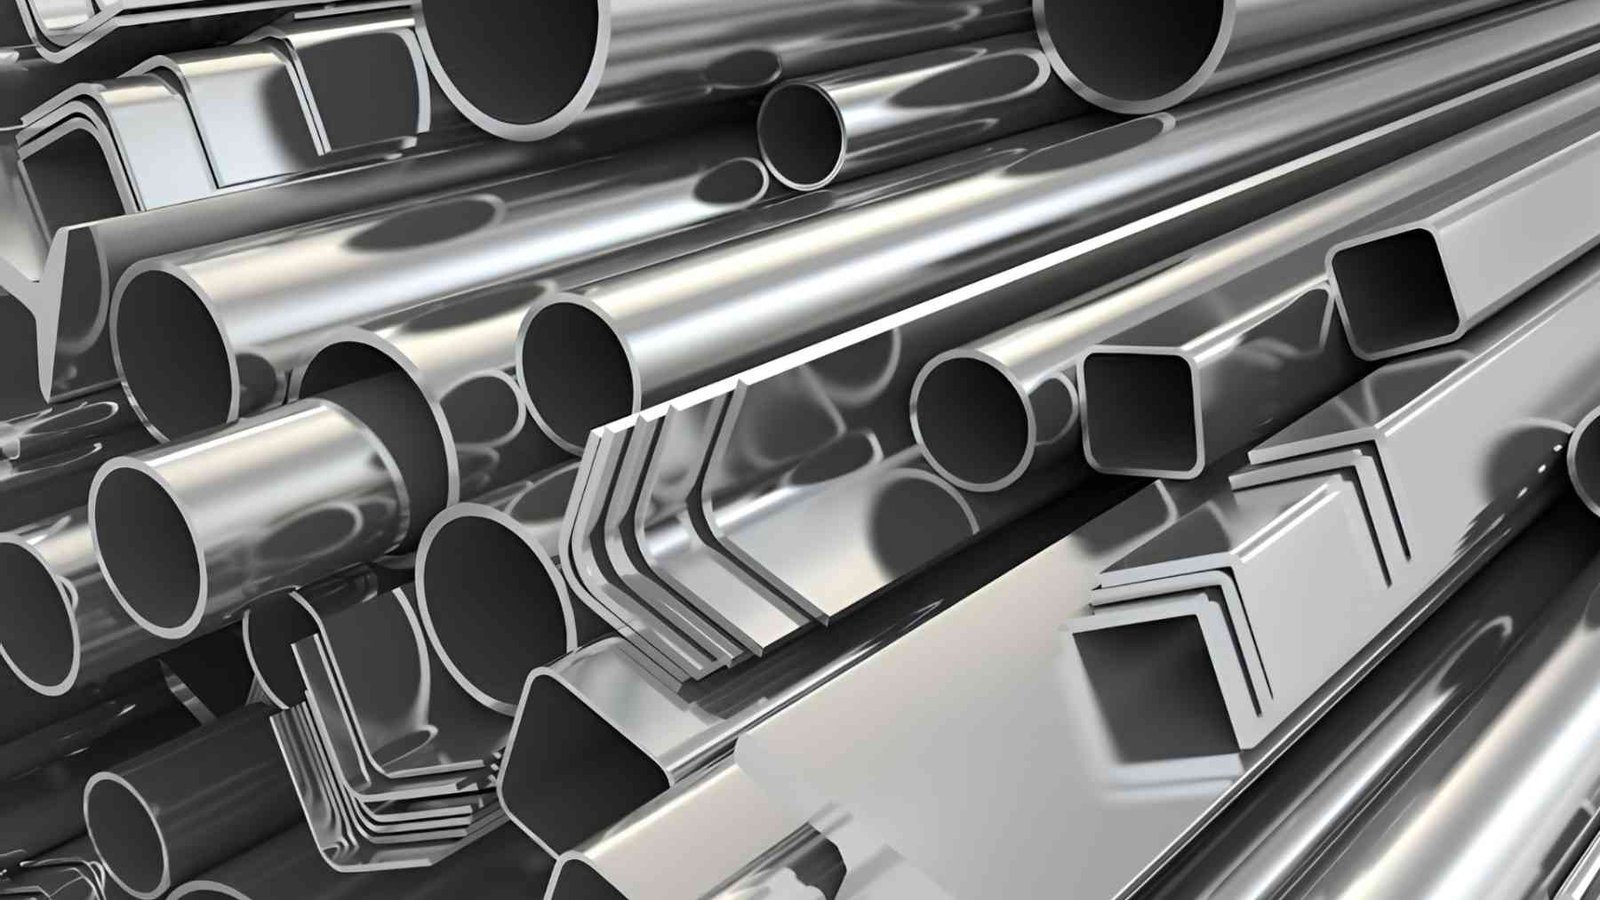
The corrosion resistance of stainless steel comes from a protective oxide layer that contains chromium, but over time the surface can become discoloured. Local corrosion may be promoted by the presence of fingerprints, water spots, minerals, oils and contaminants that may weaken the finish. The nonporosity of stainless steel allows controlled heat during polishing to prevent discolouration, distortion and damage to the surface. Polishing can be done regularly to bring back the reflective surface of polished stainless steel, and buffing can be used to obtain a smooth, mirror-like finish. Learn about stainless steel shine, how to remove contaminants and defects, reduce corrosion sites and improve sanitation.
Types of Stainless Steel Finishes: Choosing Your Target
Mill Finish (No. 1)
Mill Finish is the dull, non-reflective factory default finish that is the result of regular manufacturing processes in mills. Its surface roughness is typically between Ra 3.5 – 7.5 µm, resulting in a visibly muted surface. Use this starting point only if reshaping of the whole stainless steel surface is required. Otherwise, if they aren’t going to be SS polish, it is an additional task, as a significant amount of surface preparation is required prior to proper finishing.
Brushed/Satin Finish (No. 4)
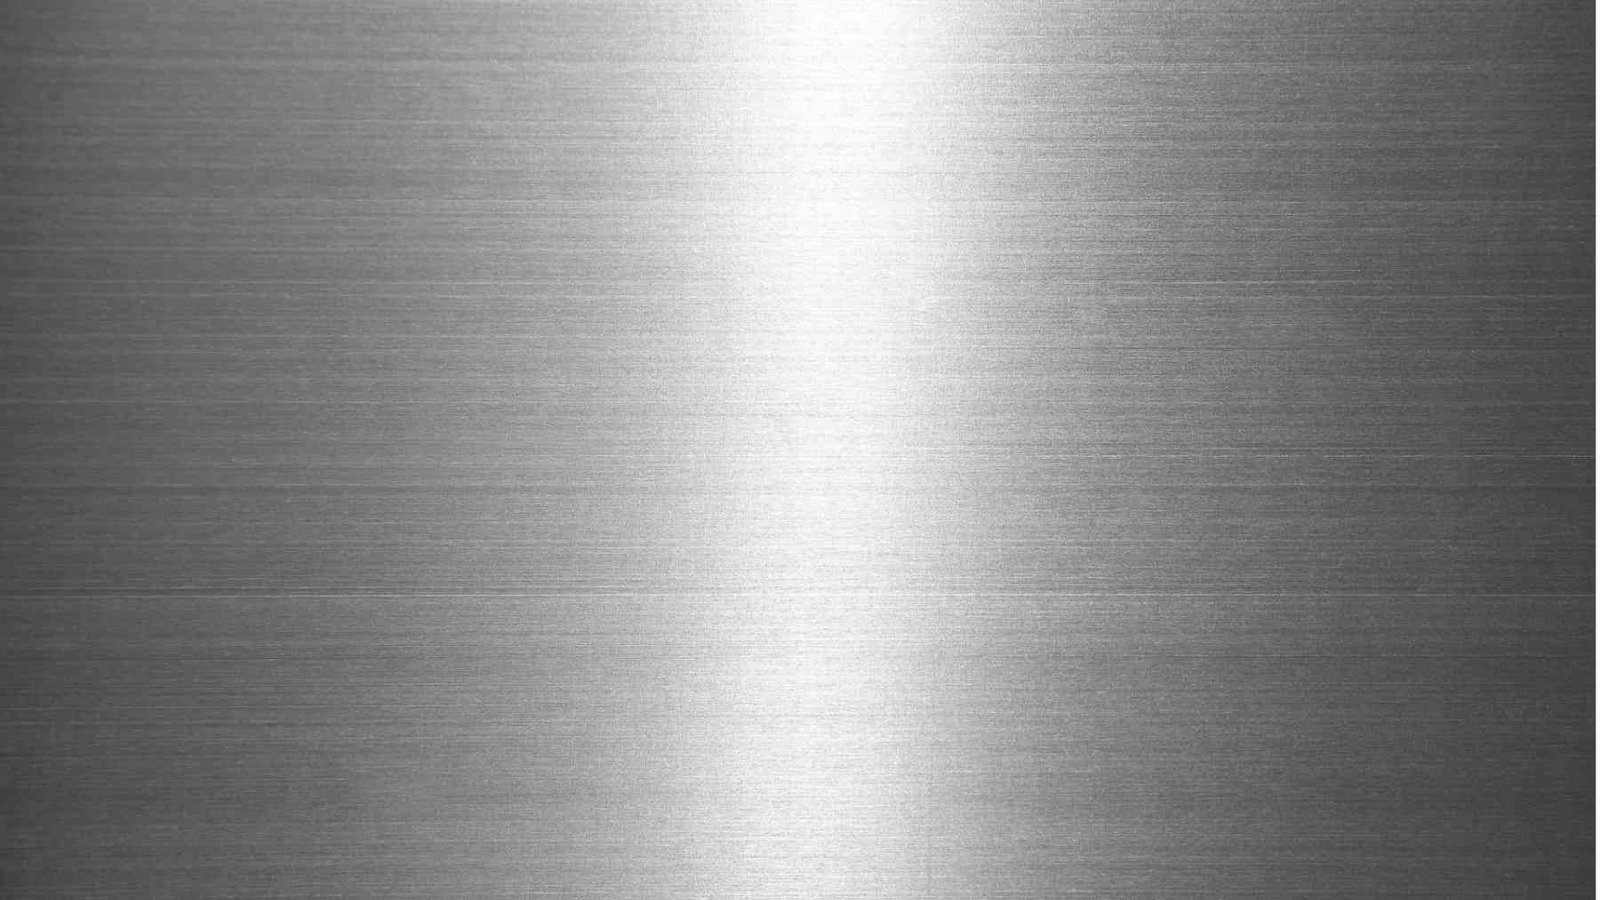
Brushed or satin finish involves 150 – 240 grit abrasives and results in a consistent linear grain pattern on surfaces. The directionality of this texture minimises glare and helps minimise the appearance of fingerprints with normal use and cleaning. It is still used in today’s kitchens, appliances, architectural panels and on surfaces that are touched often. Use it when smoothness and reflectivity are not the most important factors for the practical appearance.

Glossy/Polished Finish
A glossy or polished finish will give a smooth surface, moderate reflectivity and cleaner visual depth. It can only be achieved by buffing compound and a polishing wheel on a well-prepared surface. This finish is appropriate for automotive trim, appliances and appearance applications for stainless steel. Stainless steel surfaces can be polished with metal polish to give them a smoother finish and to enhance their ability to resist corrosion, as compared to brushing.
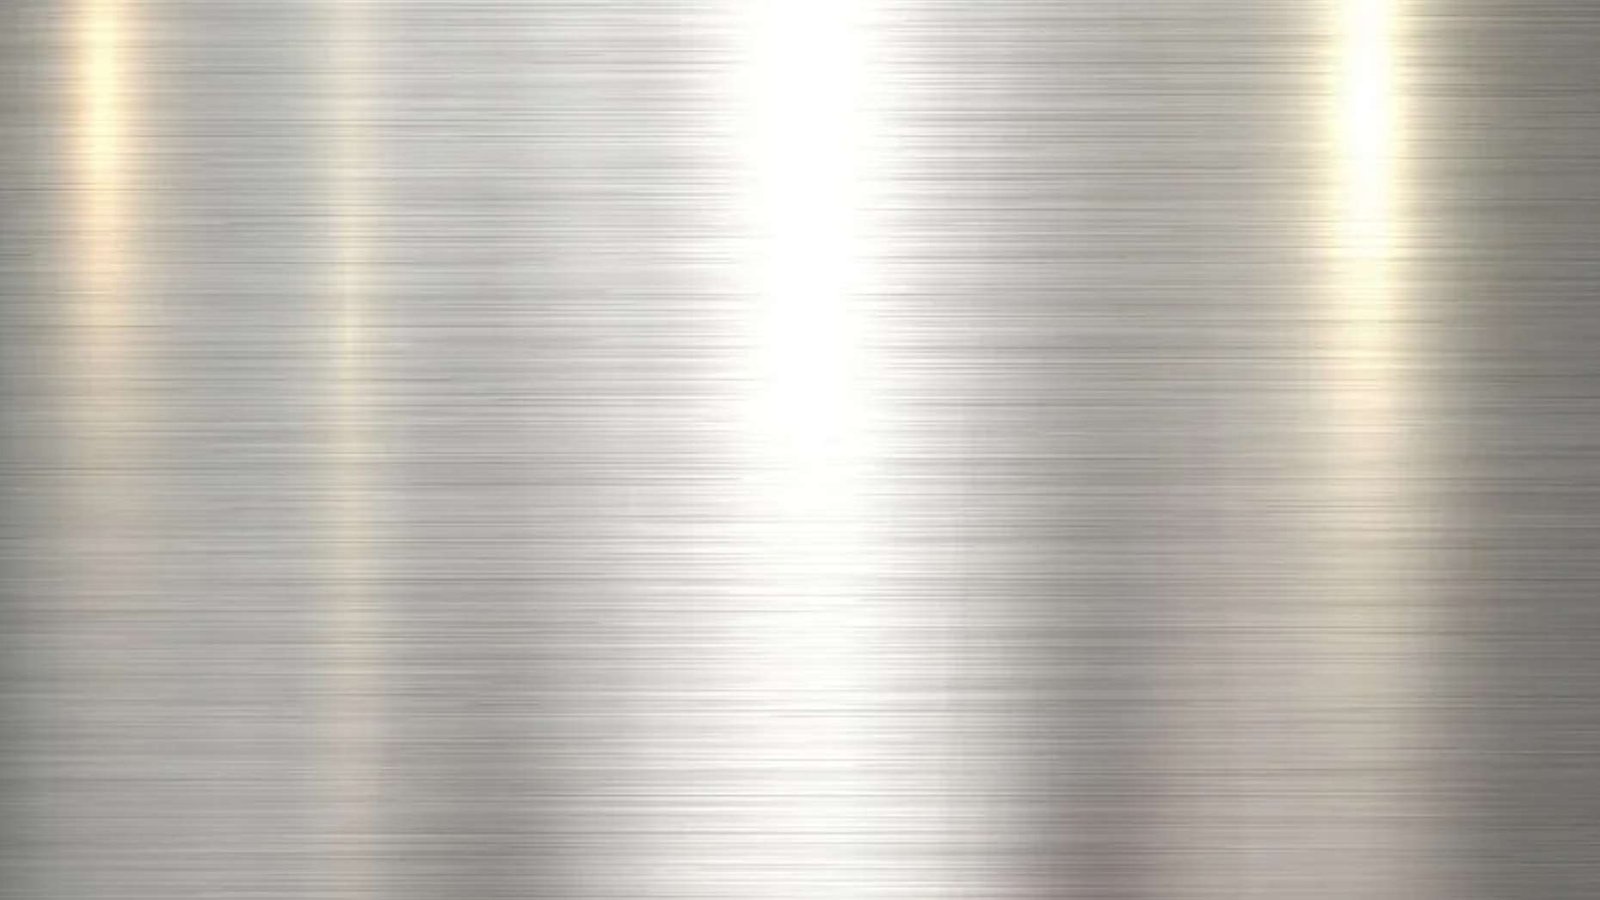
Mirror Finish (No. 8)
Mirror Finish provides outstanding reflectivity, and the surface roughness is usually Ra ≤ 0.1 µm. It creates reflections with little distortion and good clarity, and hides the weld seam and previous surface damage effectively. This is an extremely demanding endpoint that is achieved through many stages of polishing. Opt for it when you need a reflective, sophisticated look for cosmetic containers and luxury finishes.
Essential Tools and Materials for Polishing Stainless Steel
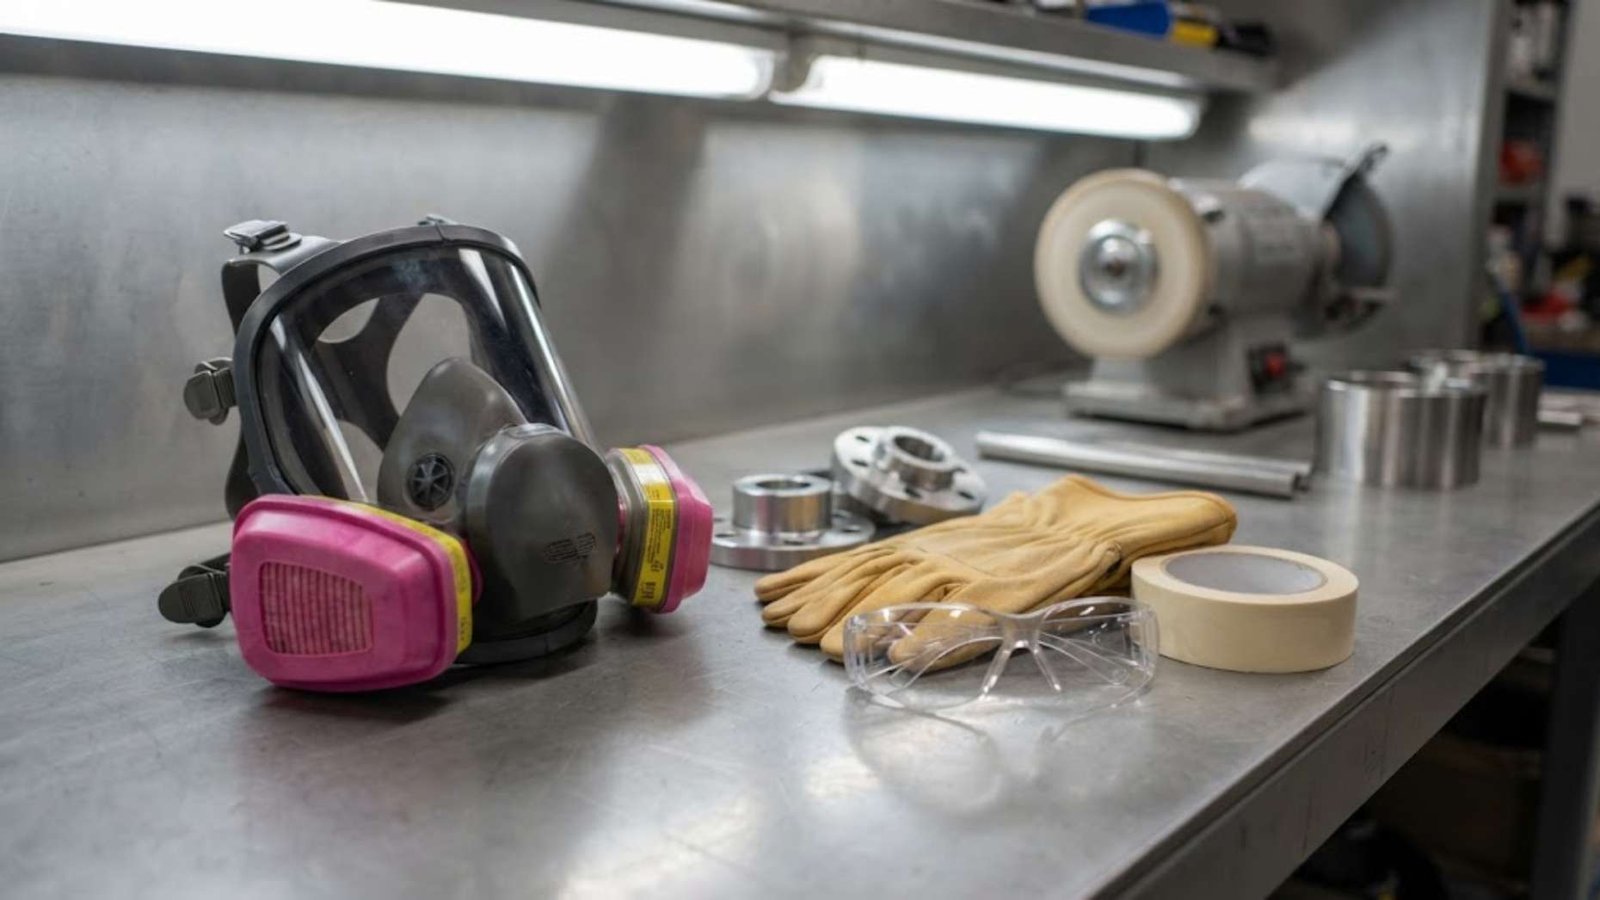
You will need the following tools and materials for polishing stainless steel:
Safety equipment (Non-negotiable)
- Full face respirator: Critical to avoid breathing in metal dust and compound residue
- Safety flanges: High-speed buffing requires protective equipment
- Eye protection, gloves: Protection against abrasive particles and heat
- Masking tape: Helps to prevent buffing damage to surrounding areas
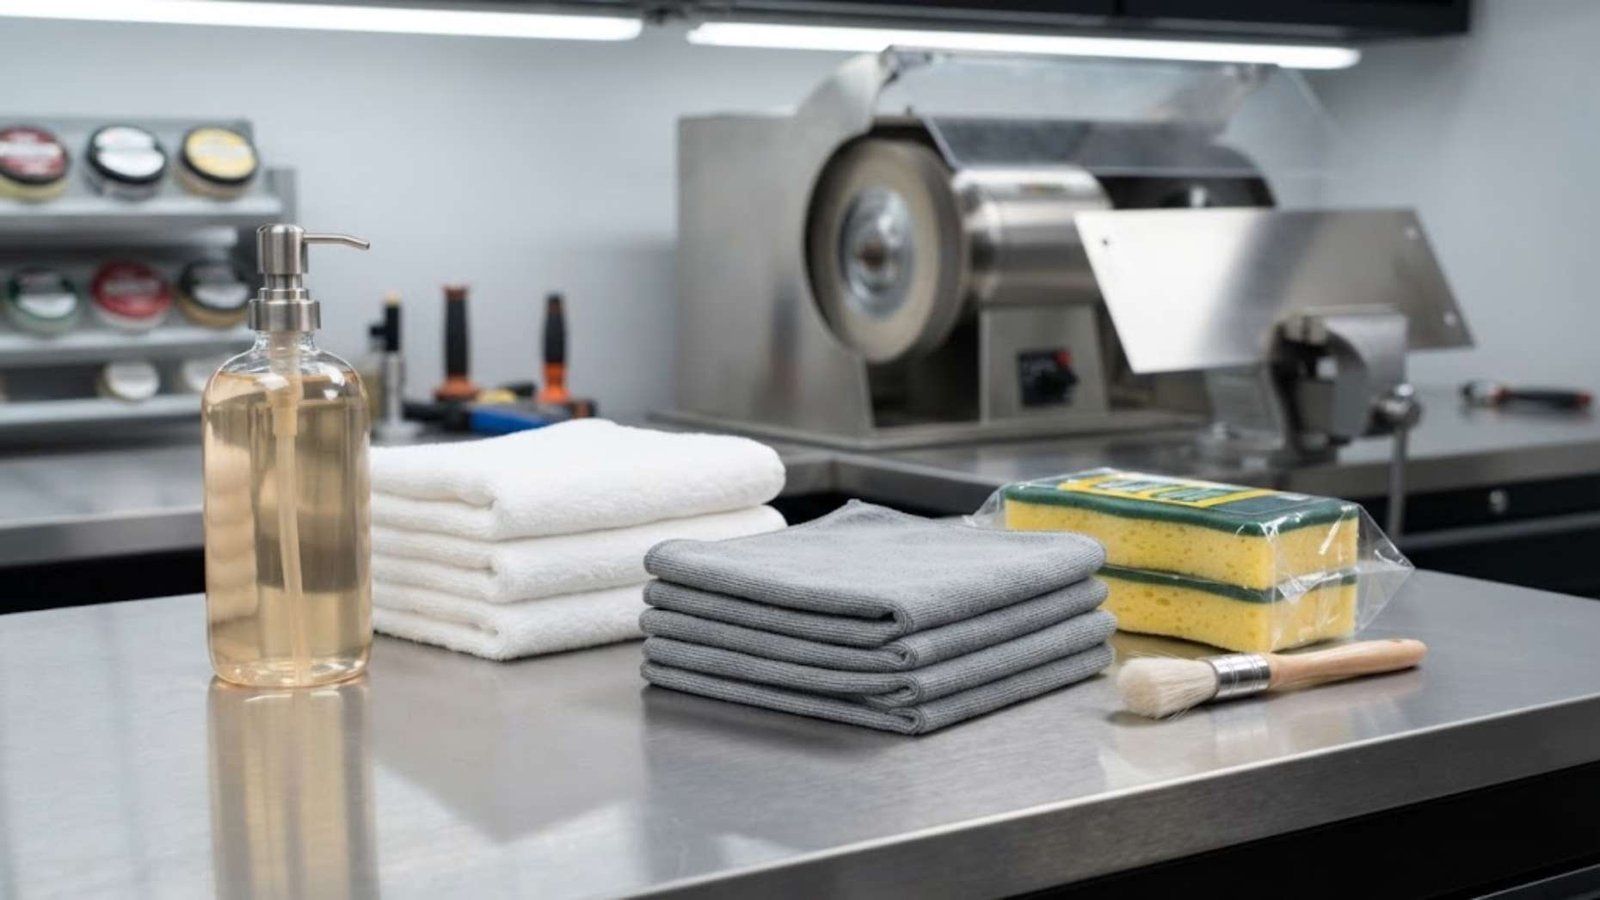
Cleaning and preparation tools
- Mild detergent or dish soap
- Non-abrasive sponges and soft-bristled brushes
- Microfiber cloths (essential for preventing scratches)
- Clean towels for drying
Abrasives and sanding equipment
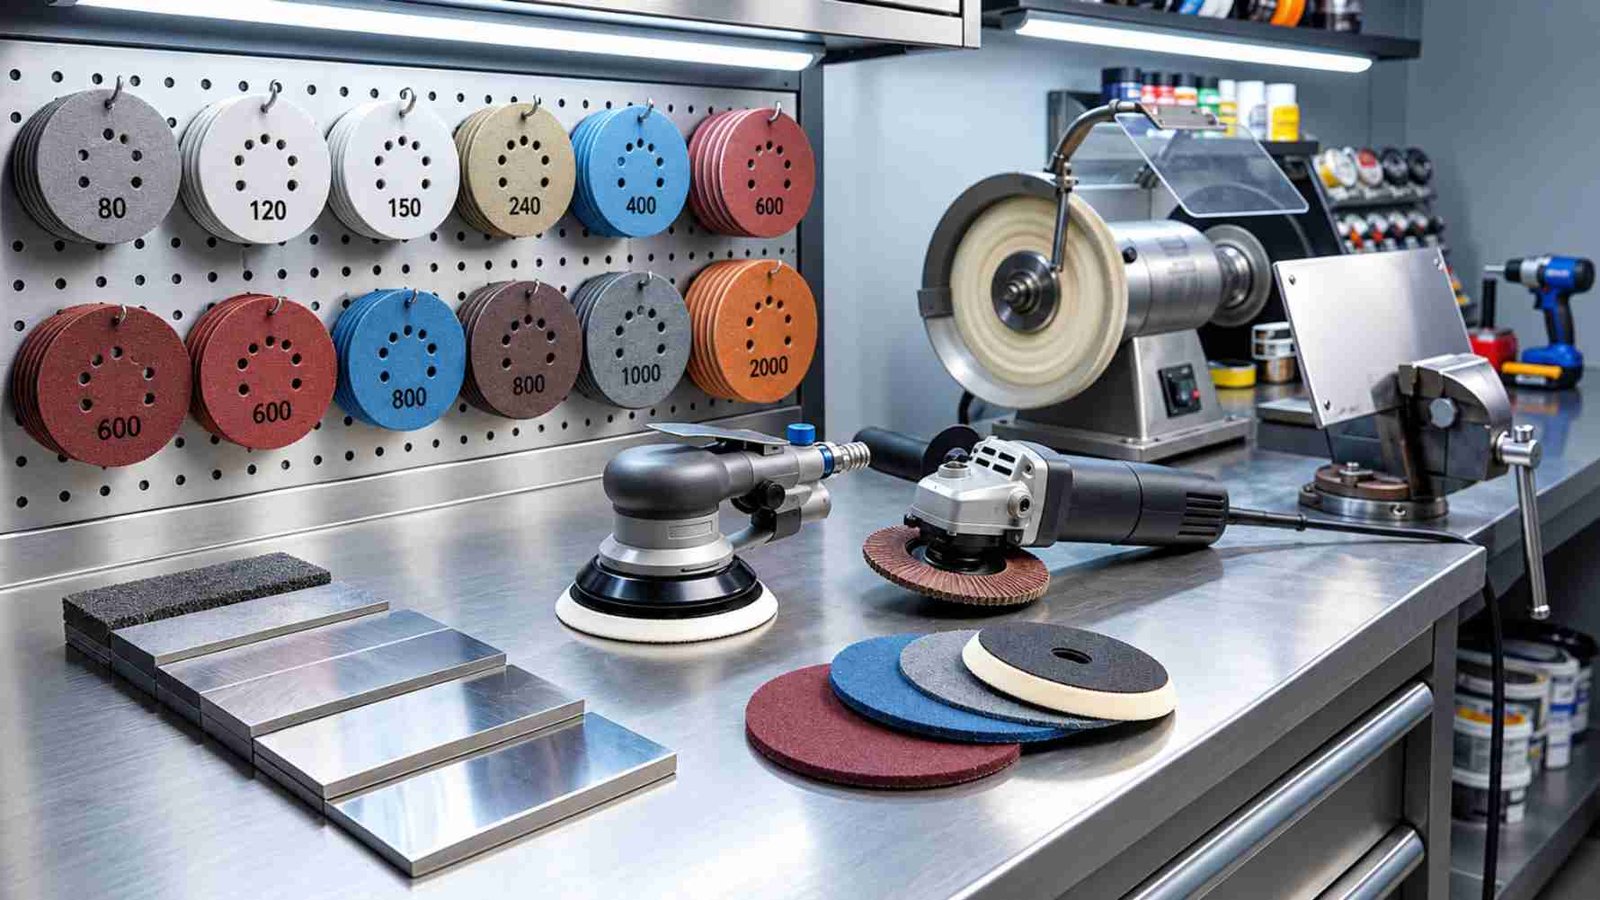
You can use the following grit range for sanding: 80–2000 grit, depending on damage severity and desired finish:
- 80–120 grit: For heavy surface damage, welds, deep gouges
- 150–240 grit: Initial smoothing stage for most projects
- 400–600 grit: Mid-stage refinement
- 800–1200 grit: Fine sanding before wet sanding
- 2000 grit: Ultra-fine prep for true mirror finishes
- Random orbital sander: Professional choice for even material removal
- Angle grinder with flap discs: For heavy damage removal (80–120 grit flap discs)
- Surface conditioning discs: Fine/very fine nonwoven for blending scratches
Buffing equipment and wheels
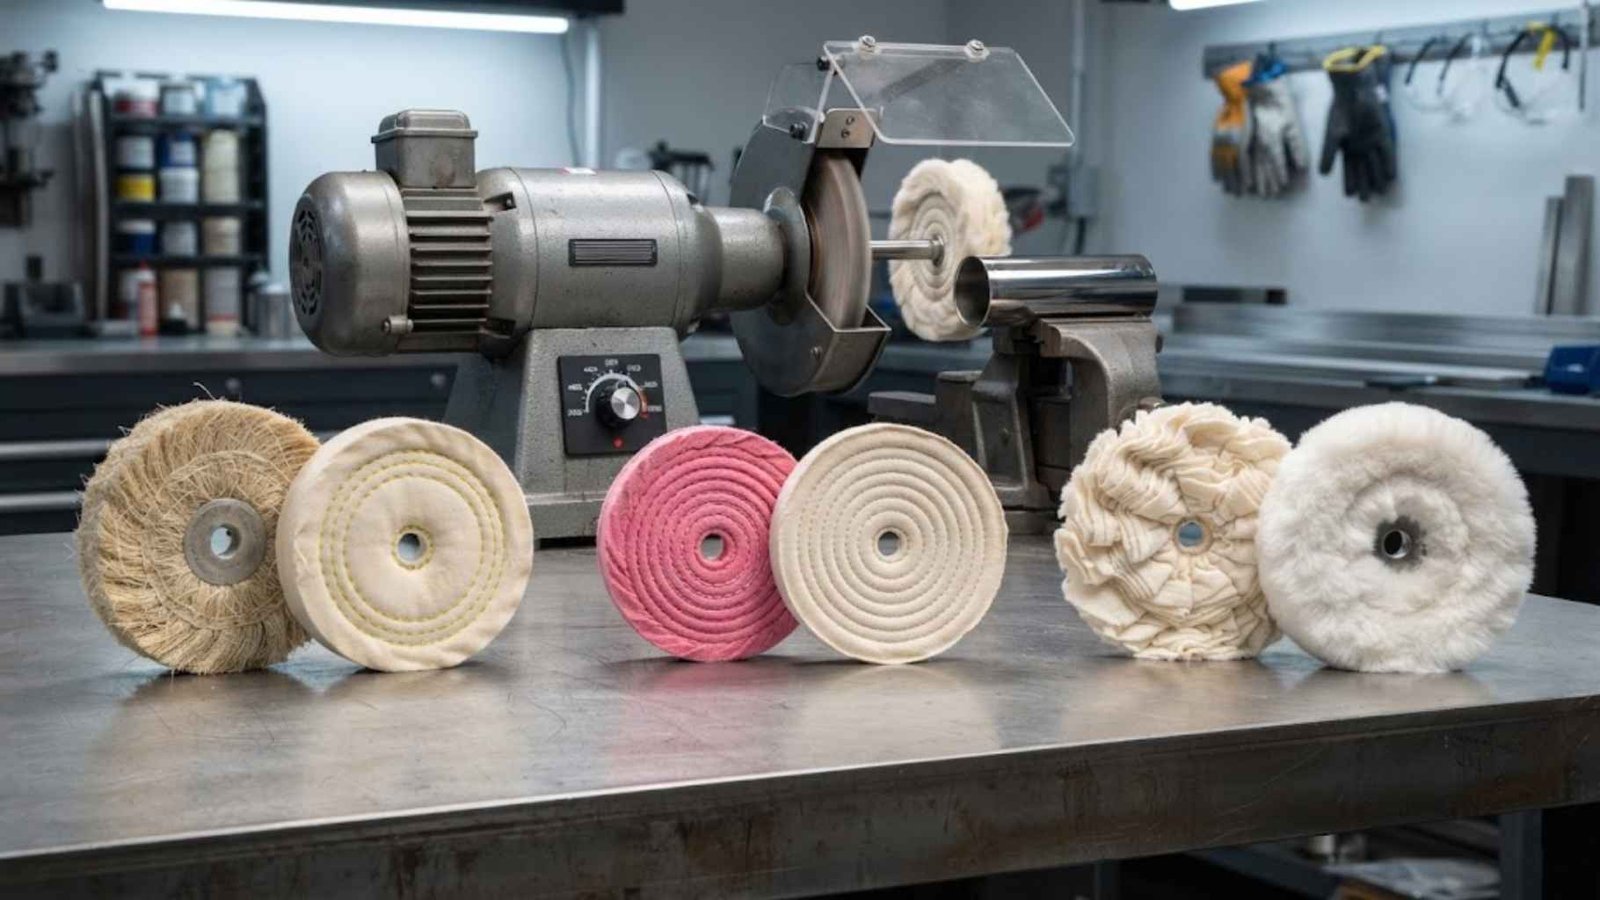
You can pair each wheel type mentioned below with its compound type and stage purpose:
- Sisal or stitched cotton wheels: Fine buffing stage (removes fine micro-scratches)
- Pink or spiral stitched cotton wheels: Buffing refinement at the mid stage
- Loosefold or Canton flannel wheels: Final colour buffing for mirror finish
- Machines: Variable or fixed speed buffer 3500-6500 RPM, depending on wheel diameter.
Stainless Steel Polishing compounds: Cut, colour, and finish
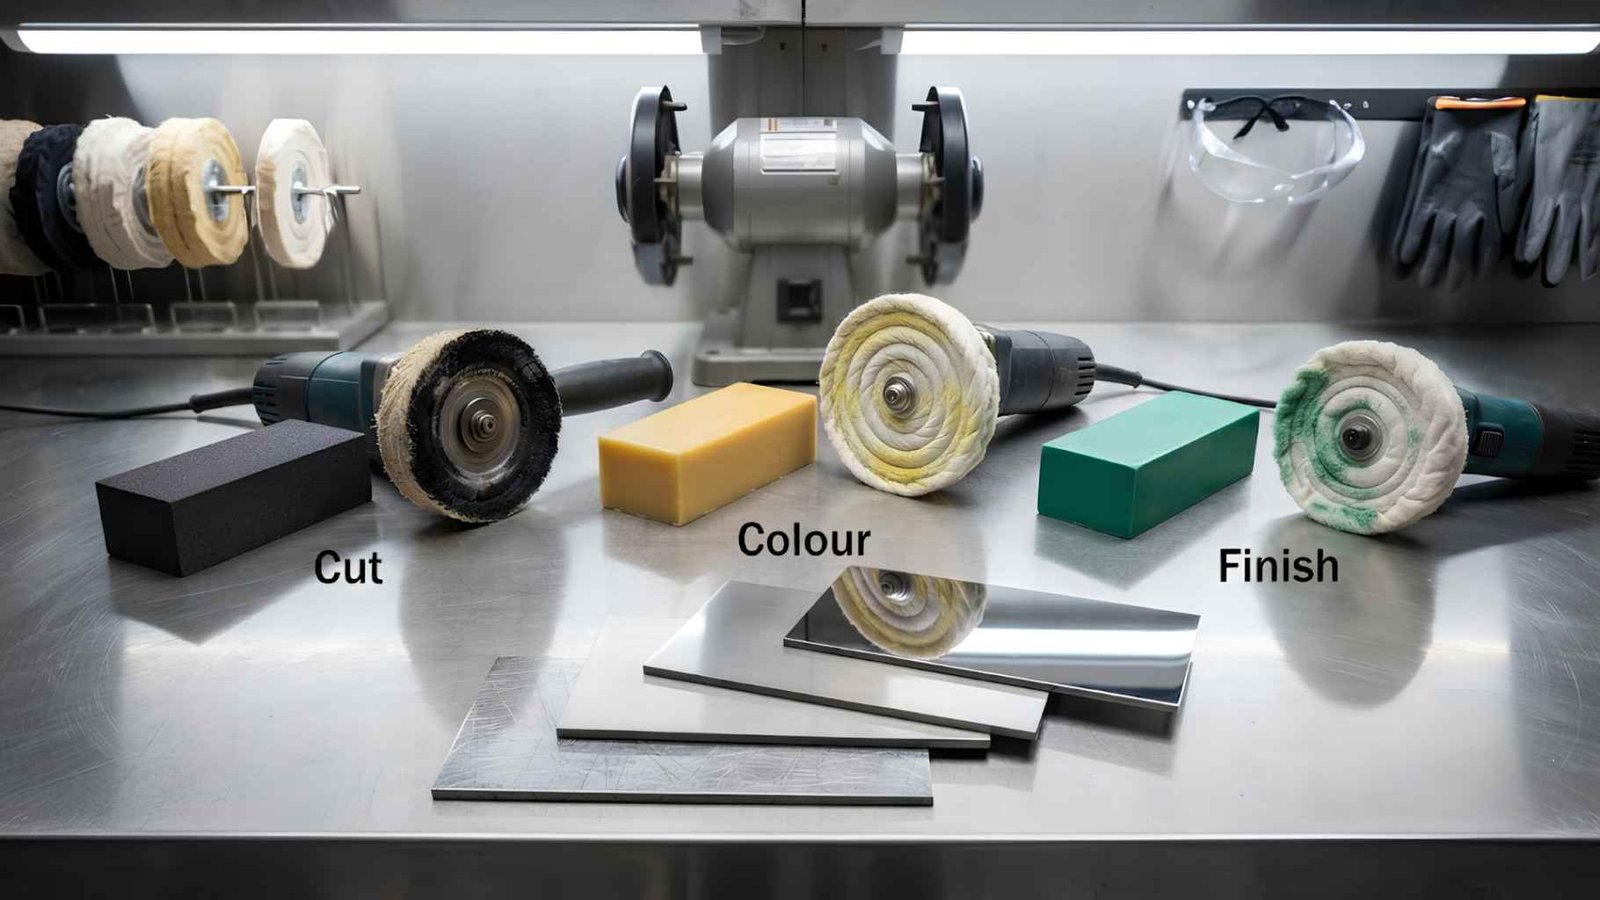
You can use the following stainless steel polishing compounds for cut, colour, or finish.
- Black emery or tripoli compound: Mineral abrasive compound that will remove micro-scratches and flatten the surface.
- Yellow or yellow compound medium: Polishes the cut stage; eliminates haze and streaking.
- Ultra-fine mirror compound: Gives final distortion-free reflection; green chrome rouge or ultra-fine mirror compound.
Pre-Polishing Preparation: The Often-Skipped Foundation
Almost 40% of the final quality is determined by the preparation for pre-polishing, and rushing this step will create problems later. Wash down with mild detergent and a non-abrasive sponge to remove grease, oil and debris. Dry it thoroughly, as contamination may cause scratches when sanding. Determine damage first before deciding which starting grit to sand with. 240 grit is used for light scratches, dullness, and 80- 120 grit for deep gouges, weld marks or pitting. Try the most gentle grit first and switch to a coarser grit if scratches are still present in a hidden area. For areas that are damaged, 80–120 grit is used to smooth surfaces and eliminate irregular weld beads.
The Progressive Grit Sanding Sequence: How to Polish Stainless Steel Step-by-Step
For a smooth stainless steel finish, follow a progressive grit sequence without skipping stages.
Core Principle: The 3x Rule
The deformation depth (of each grit) should be approximately 3 times the deformation depth of the previous grit. The finer grits cannot polish out the deeper scratches caused by coarser grits. If you skip grits and go from 240 to 800, you will notice that scratch patterns are visible under the polish. Use the right coarse grit, and work through finer abrasives. This sequence will take you through the steps to make an even and well-finished surface on your stainless steel.
Stage-by-Stage Progression
Stage 1: 150–240 Grit
Use 150- 240 grit to eliminate heavy defects, extreme scratches and uneven areas. Spread the sand evenly, making sure there is a uniform scratch pattern throughout. Continue to go on when the entire surface is scratched evenly at this grit size.
Stage 2: 400 Grit
Switch to 400 grit to smooth out the scratches made in the last step. Turn your sanding direction at 90° to make it easier to spot any scratches that are left. Repeat the process until all 240 grit scratches are removed.
Stage 3: 600 Grit
Use 600 grit to remove scratches from 400 grit sanding. Turn the sanding direction 90° again, keeping the pressure even. When 400-grit marks are no longer visible in normal light, and there is some light reflection, start to proceed.
Stage 4: 800 Grit
Use 800 grit to eliminate the last visible scratch marks. Continue sanding until the surface is smooth and glassy. Once faint reflections show up, switch to wet sanding to fine the surface.
Stage 5: 1000 Grit Wet Sanding
1000 grit wet sanding should be performed using water or cutting fluid to minimise heat. Change sanding direction by 90 degrees as you sand over the area to be covered. Continue if there are no scratches when looking at it in the light, and it feels glassy.
Stage 6: 1200–2000 Grit Wet Sanding
If a true mirror finish is required and needs to be further refined, use 1200- 2000 grit wet sanding. Remember to keep the coolant running all the time in preparation for final buffing. Go ahead and step forward when it gets very smooth and almost shiny.
Critical Technique Rules
If you want to know how to buff stainless steel or how to polish stainless steel, adhere to these guidelines. Turn your piece of work 90° at each grit change to avoid scratches from prior grits. Don’t move on when all scratches from the previous grit are gone – this is where most DIY projects fall. To avoid cross-contamination, use separate wheels or belts for each grit. Use a steady speed and pressure to ensure that the removal is even and free of swirl marks. Keep angle sanders below 20,000 RPM for 2-inch discs, 15,000 for 3-inch, and 12,000 for 4-inch. Use 1,600–3,500 RPM for inline sanding and 4,000–6,500 RPM for general buffing.
Cut Buffing: Eliminating Micro-Scratches
What cut buffing accomplishes
Eliminates the need for buffing, sanding and final polishing of bridges, which creates defects that are readily apparent. It eliminates micro-scratches not visible to the naked eye and further flattens and levels steel surfaces. The stage is making stainless steel ready for colour buffing and providing a cleaner base for reflective polishing.
Equipment and compound selection
Pick a Sisal or stitched cotton wheel as both are rigid and have an aggressive cutting action. If it is to be used, black emery or aggressive tripoli compound should be used to remove material, not hide problems. Use compound sparingly on the wheel, not on the work, to achieve cleaner cutting.
Critical technique for cut buffing
Move the workpiece continuously and make sure that it is done at a constant speed and moderate pressure in cut buffing. Heat buildup will occur if the surface is left anywhere, and there is a risk of oxidation or unwanted damage to the surface. Use dedicated wheels and cloths for this compound; don’t use them with different compounds in the following polishing stages.
Common mistakes in this stage
One of the most common errors is using the same wheel for several different compounds, resulting in cross-contamination of abrasive materials. Excess compound results in messy, ineffective polishing, NOT better cutting. Slow moving or dwelling creates long heat, orange peel texture or blue discolouration; stop and cool steel immediately.
Colour Buffing and Final Polish: How to Re-Polish for Mirror Shine
Purpose and difference from cut buffing
The visible transformation occurs during colour buffing, which transforms a cloudy stainless steel surface into incredible reflections. This finishing process removes little material, but enhances clarity, depth and brilliance unlike cut buffing. The fine compound residue fills tiny holes, providing a better finish prior to the final hand polishing process.
Equipment and compound specifications
When buffing the colour, use either a soft loosefold or untreated cotton mop since they create less heat. The traditional green chrome rouge works very well, and blue buffing compound gives softer finishing. Ultra-fine mirror compounds are the new formulations, which are used to polish stainless steel with a very high degree of clarity.
Colour buffing technique
Follow the same procedure as cut buffing, but use a less aggressive approach, as colour buffing is used to create a finish, not remove material. Operate in the lower end of the 3,500 to 6,500 RPM range with constant motion. Use compound sparingly on the edge of the wheel, use tight, overlapping strokes and do not drag.
Quality evaluation
A good finish will yield images throughout the entire stainless steel surface that are clear and undistorted. In most cases, if the barrel has haze or visible swirl marks, it means that the buffing of the barrel is incomplete and needs to be buffed again. Light should reflect evenly, with no distortion, which is indicative of the desired mirror finish.
Final wipe-down
Once buffed, take off all compound residue by using a clean, lint-free microfiber cloth prior to final inspection. When it comes to re-polishing stainless steel, proper cleaning will keep the stainless steel clear and ready for maintenance.
Critical Variables Affecting Your Results
Steel grade considerations
In the case of stainless steel polishing, the grade will influence the cutting speed, the selection of abrasive, and the finishing time. Austenitic 304 and 316 grades work harden quickly, and it is important to avoid glazing by using sharp abrasives and positive feed. After heat treatment, martensitic 410, 420 and 440C will increase in hardness and need to be used at slower speeds and for longer periods of time. Free-machining 303 and 416 contain sulfur, and therefore are not suitable for high purity mirror finishes.
Buffing speed and pressure management
The rate and pressure of buffing will impact heat build-up, finish and discolouration. Stainless steel discolours at approximately 290°C with light yellow colours, and at approximately 600°C with dark blue colours. Field test: Place bare skin on the workpiece; if it hurts, slow down or decrease pressure. The buff’s maximum speed is 3,600 RPM for 6 to 8-inch buffs, 3,450 RPM for 9 to 10-inch buffs, 3,000 RPM for 11 to 12-inch buffs, and 2,400 RPM for 16 to 18-inch buffs.
Surface cleanliness between stages
The importance of cleanliness between different stages of polishing is that one coarse particle can cause visible scratches. Abrasive materials used on carbon steel surfaces can release free iron that can transfer to the stainless surfaces. When moisture is available, transferred iron can result in galvanic rust, which is detrimental to the polished surface. Change gloves, use colour-coded abrasives (only use for stainless steel), wipe between stages.
Compound Selection and Wheel Pairing (Critical)
Click the image to view the sheet.
Common Mistakes That Derail Mirror Polishing Projects
There are a few pitfalls that can go wrong in mirror polishing projects, so don’t take any shortcuts in the process that will compromise the finish. Directional light can reveal scratches caused by a hasty sanding sequence, despite the sanded surface being shiny. Go through all steps, particularly wet sanding over 800 grit, which will take out any scratches from the previous steps. Do not use the same buffing wheel with different grades of compound, as coarse compound will cause new scratches. Use different wheels and cloths for each compound and ensure that the action is the same to avoid overheating. Stainless steel can be oxidised and turned blue or gold with too much heat and will need restarting. Lastly, clean the surface, assess for damage, and patch test before polishing.
Maintenance polishing: Keeping already-polished steel looking new
To keep your polished steel looking new, follow these maintenance techniques and tips:
Periodic maintenance schedule
- Light maintenance: Hand polish monthly with commercial stainless steel polish
- Deeper maintenance: Every 3–6 months using an electric buffer and final polish compound
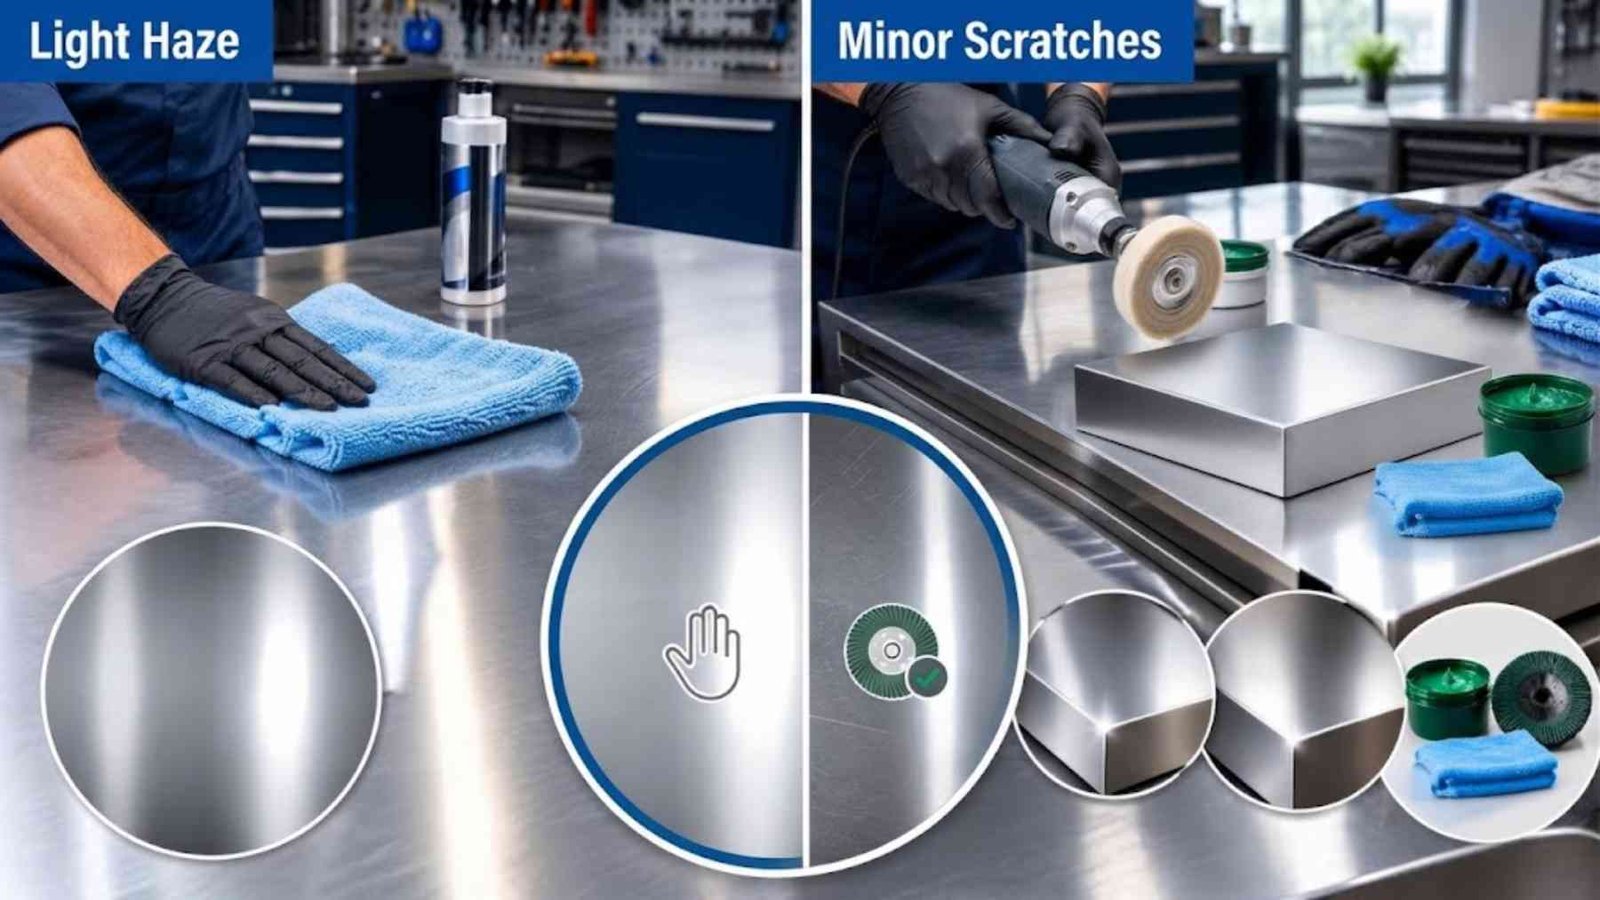
- Full restoration: Just when scratches build up, or haze is recognised.
Maintenance polishing technique
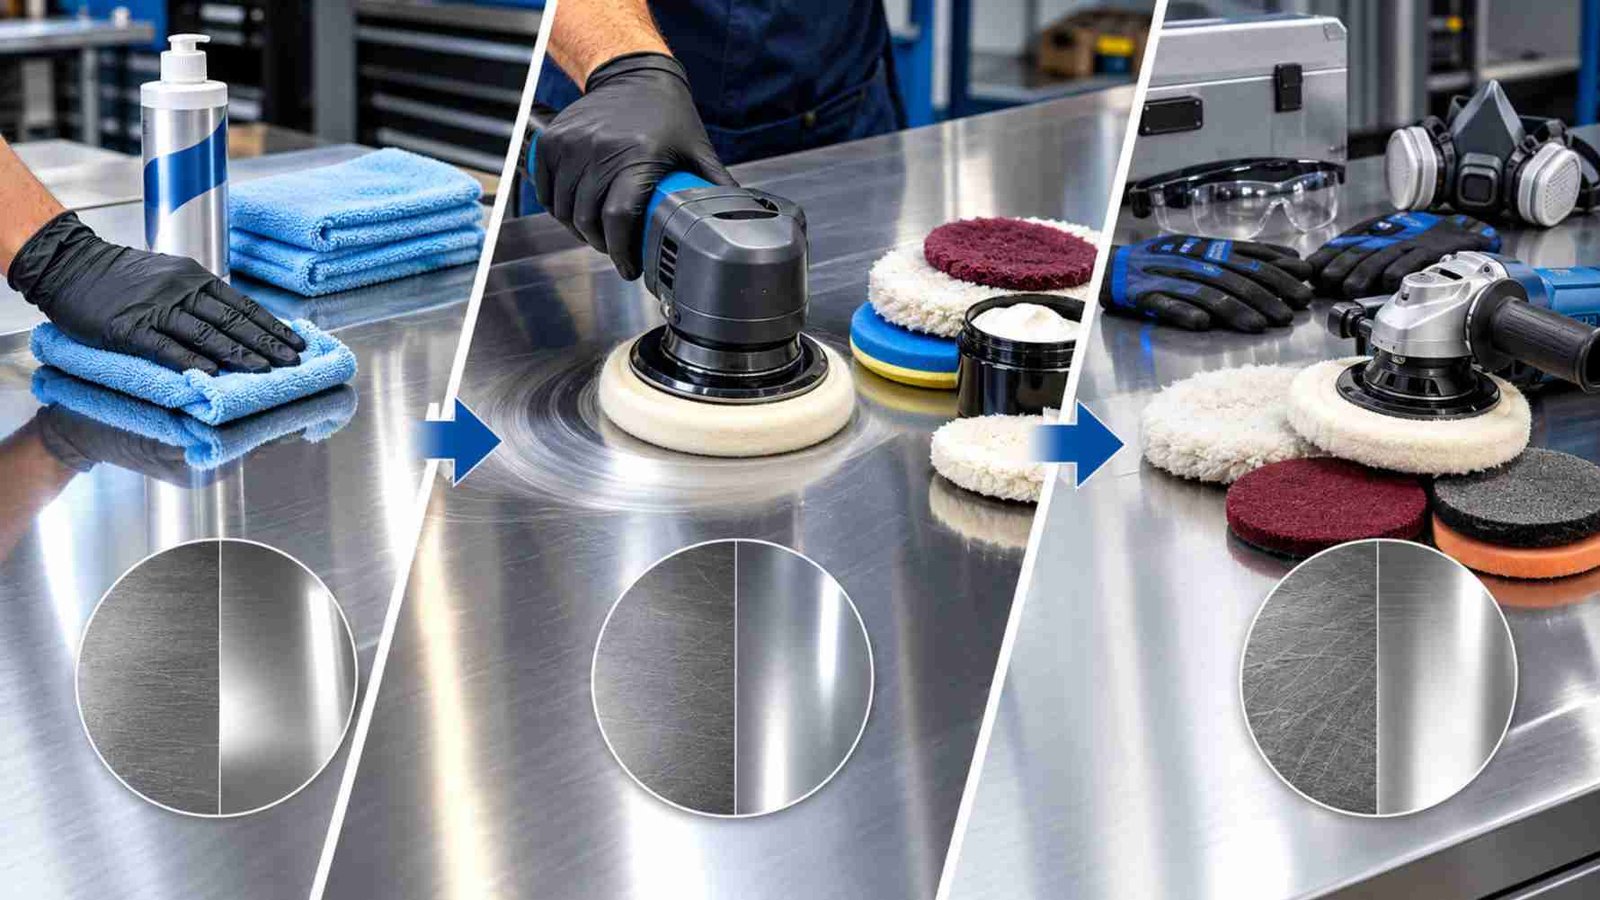
- Do not redo entire sequence
- Light haze: Hand polish only, no buffing wheel.
- Minor scratches: Go to next polishing stage (flannel wheel + green rouge)
- Avoids waste of material; prolongs the life of the workpiece
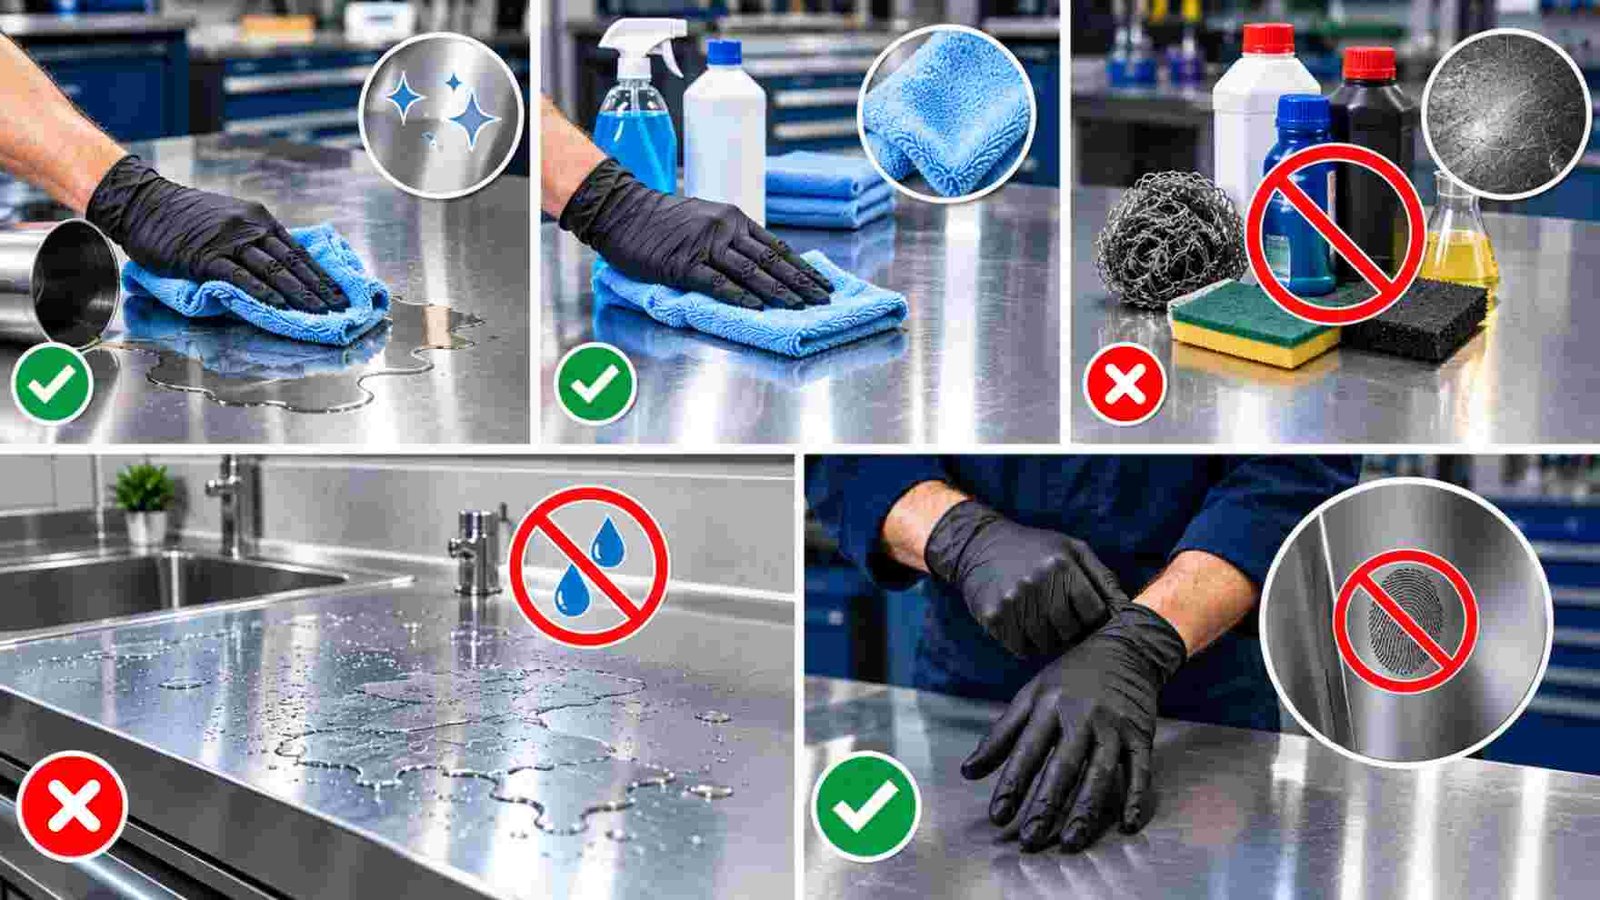
Preventive care tips
- Clean up spills promptly to avoid stains and etching
- Clean and maintain with soft cloths and non-abrasive cleaners every day
- Do not use steel wool, strong chemicals, or abrasive scrubbers
- Keep out of wet areas to avoid water spotting
- To reduce fingerprint oils: wear protective gloves.
Conclusion
The polishing process of stainless steel is a careful process, which includes appropriate preparation, step-by-step sanding, and suitable compounds and buffing techniques. Whether it’s to smooth out surface flaws or to create a stunning mirror finish, every step contributes to the overall outcome. With careful selection of tools, cleanliness, heat control and avoiding common mistakes, beginners can achieve professional-looking results. From fixing up scratched surfaces to sustaining the lustre, knowing how to polish stainless steel can help you achieve a durable, smooth, and alluring finish.
Frequently Asked Questions
Can I Polish Stainless Steel by Hand?
Yes, there is a way to do stainless steel polishing by hand, particularly in the case of smaller items, scratches, and fingerprints, as well as for routine maintenance. First, be sure to determine the “grain” of the brushed stainless steel surface. Put mild cleaner, mineral oil or vinegar solution on a microfiber cloth. Gently buff with a cloth in the direction of the grain and buff with another clean cloth until dry.
Can I Polish Stainless Steel With Rouge Bars?
Rouge bars can be used to polish stainless steel, but the correct compound will make the difference in the results. Use black or brown Tripoli for first cutting and removing scratches. White rouge is used to give a fine finish, and green chromium-oxide rouge gives high lustre. Steer clear of red jeweller’s rouge as it is more appropriate for softer precious metals.
How Long Does a Polished Finish Last?
Depending on the material and maintenance, polished finishes can last from a few days up to over 20 years. The average lifespan of nail polish is 3-7 days before it chips. Car polish has a life of 1-6 months without any further protection. Traditional floor polish lasts anywhere from 2 to 6 months, while Polished Concrete lasts up to 20 years.
What If My Finish Turns Blue or Gold?
Normally, the colour of the heat tint from high-temperature oxidation is blue, purple, gold or straw in stainless steel. By heating up the chromium oxide, it becomes thicker and creates visible colours by thin-film interference. Gold is a sign of less heating, and blue is more exposure. Using appropriate stainless-steel cleaners, polishing techniques or appropriate abrasive methods, remove discolouration from affected surfaces.
How Do I Fix White Streaks or Haze?
A 50/50 blend of 70% isopropyl alcohol and distilled water will remove many white streaks on glass. Gently wipe with a microfiber cloth, and buff right away with another dry cloth. Distilled water should be used sparingly on screens and never sprayed. Careful low-temperature treatment under a dry cotton cloth may be necessary for wood haze.