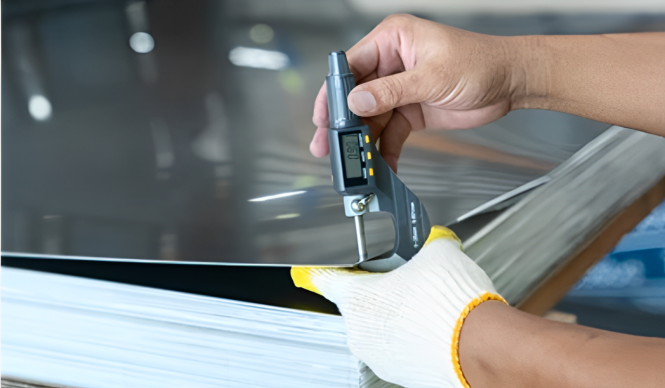
Copper Stamping – The Complete Beginner’s Guide in 2026
What Is Copper Stamping?
The stamping of copper is the process of applying force in a controlled manner to permanently alter the shape of copper, creating accurate, useful or decorative designs. There are two different ways you can use to reshape or stamp the copper:
- Machine Stamping
- Hand Stamping with Hand Force
Machine stamping involves the use of precision stamping machines to cut, bend and form copper sheet stock into high-volume precision parts.
Manual stamping involves applying decorative designs to the copper sheet by pressing them with hand stamps, hammers and bench blocks.
The basic concept of both methods is that the shape of copper is altered permanently and in a predictable manner by the application of force.
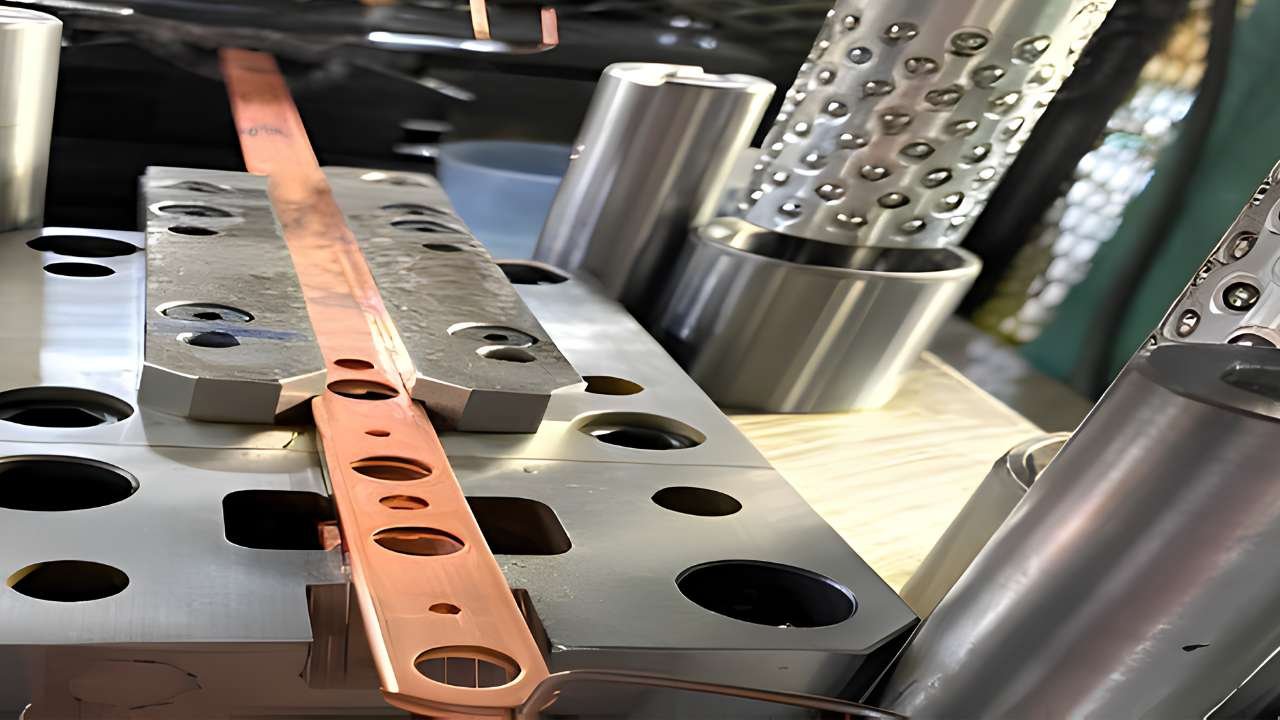
Why Copper? Understanding the Metal’s Properties
Copper is never a random material used in industrial manufacturing. It is carefully chosen by the engineers and designers for a specific purpose. The special properties of copper render it truly irreplaceable in demanding applications.
Electrical Conductivity
Copper is the second most conductive metal, after silver. Therefore, it is the first choice of electronics, wiring and energy components all over the world. Copper is used in the construction of electrical components because it conducts electricity with a low resistance and low energy loss.
Thermal Conductivity
Copper has a higher rate of heat transfer than any other engineering metal today. This is used by automotive and aerospace manufacturers to prevent the damage of sensitive components by heat. Efficient heat transfer has a direct impact on prolonging the life of critical assemblies.
Malleability and Ductility
Under high mechanical pressure, copper stamping is done without cracking. It is therefore ideal for high speed industrial stamping presses and for precision hand-tool work. This flexibility is highly appreciated by the manufacturers for producing complex components with a small tolerance with a consistent quality.
Corrosion Resistance
Copper forms a protective layer of oxide on the surface, also known as patina. Copper will not rust even in wet or corrosive industrial environments, unlike steel. This self-protecting feature will help to save a lot of money on maintenance in the long run for B2B buyers.
Antimicrobial Properties
Naturally, copper is a material that is bactericidal and makes direct contact with the surface of the material to kill bacteria and pathogens. This natural property is used by medical device manufacturers to minimize the risk of infection in clinical environments. More and more, regulatory entities acknowledge copper surfaces as a certified antimicrobial surface.
Aesthetic Appeal
The warm reddish-gold tone of copper really makes it stand out from the other structural and decorative metals. Copper is used by architects and product designers when aesthetics are a key part of value. Few metals grow old so well, gaining character without losing their structural strength.
Recyclability
Copper is a material that can be recycled 100% and indefinitely without any loss of essential characteristics. This is why it is a sensible material for brands with a sincere sustainability agenda. Recycled copper is of the same quality as newly mined and virgin copper.
Copper vs. Common Stamping Metals — Property Comparison
The below table shows the copper stamping comparison with other stamping metals:
Property | Copper (C11000) | Aluminum (6061) | Stainless Steel (304) | Brass (C26000) |
Electrical Conductivity | Excellent (100% IACS) | Good (~61% IACS) | Poor (~2.5% IACS) | Good (~28% IACS) |
Thermal Conductivity | Excellent (401 W/m·K) | Good (167 W/m·K) | Low (16 W/m·K) | Good (120 W/m·K) |
Malleability | Very High | High | Moderate | High |
Corrosion Resistance | High | High | Very High | High |
Tensile Strength | Moderate (~210 MPa) | Moderate (~276 MPa) | High (~515 MPa) | Moderate (~300 MPa) |
Machinability | Good | Excellent | Moderate | Excellent |
Relative Cost | High | Moderate | Moderate–High | Moderate |
Best Use Case | Electrical, thermal | Lightweight parts | Structural, high-stress | Decorative, wear-resistant |
Types of Copper Used in Stamping
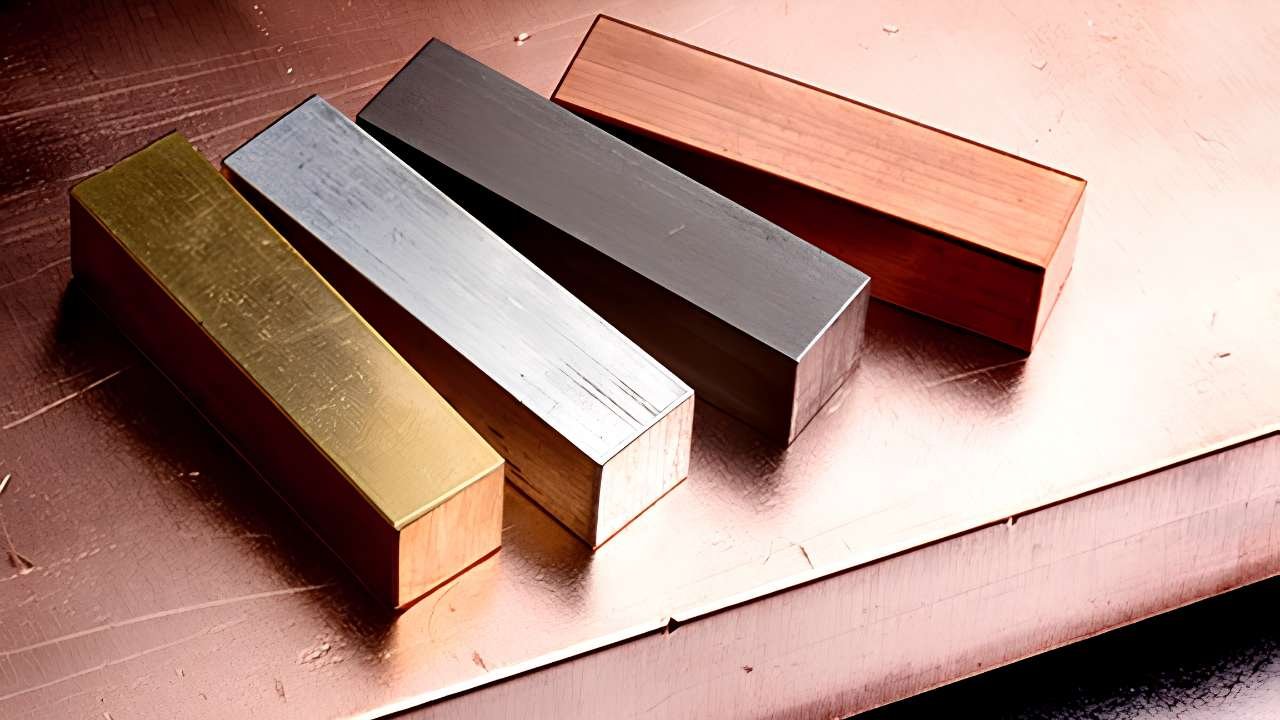
Copper stamping is not just linked to one material, it’s a family of alloys. Each alloy provides different mechanical and electrical characteristics. Making the wrong choice wastes time, money, and performance.
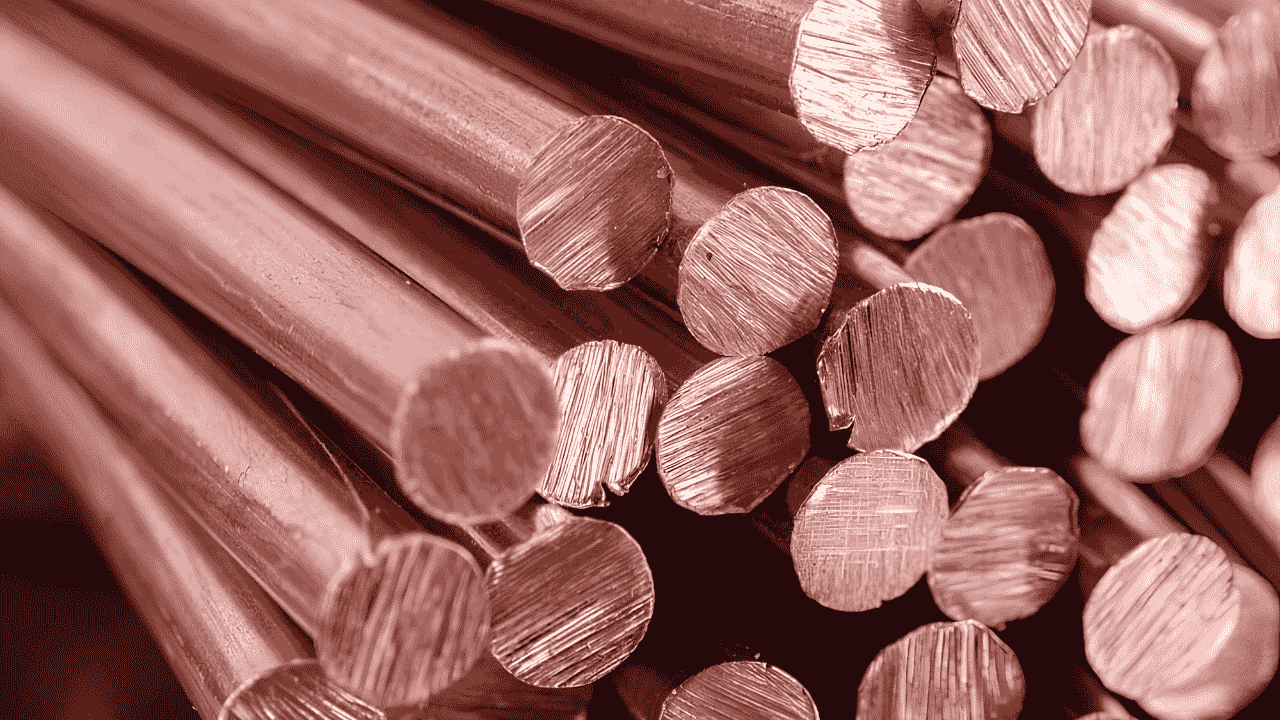
Pure Copper / Electrolytic Tough Pitch (C11000)
C11000 has the highest electrical conductivity of any commercial copper alloy. Due to its soft and ductile properties, it is very easy to form and stamp. This grade is the most popular in the world of industrial electrical component manufacturing.
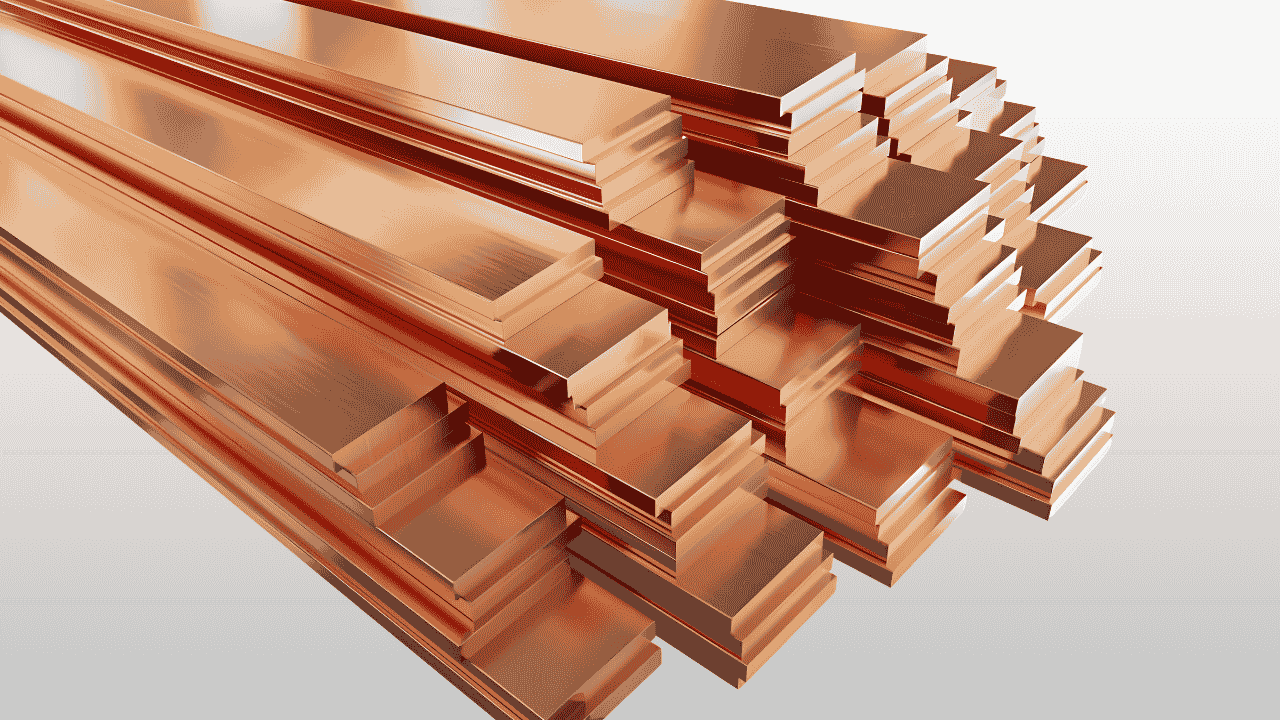
Oxygen-Free Copper (C10100/C10200)
These grades remove dissolved oxygen and therefore prevent the occurrence of harmful hydrogen embrittlement during high temperature processing. They are essential for electronics manufacturers and those that make vacuum equipment. Signal integrity and material stability are greatly enhanced.
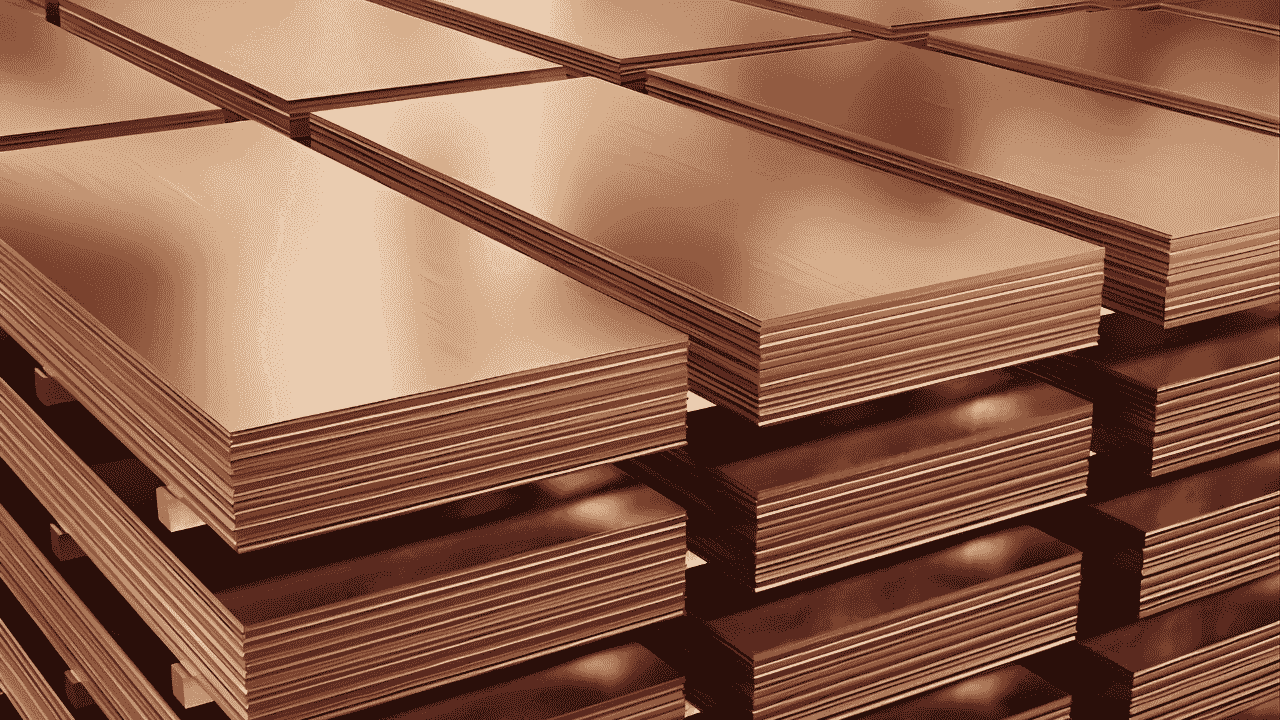
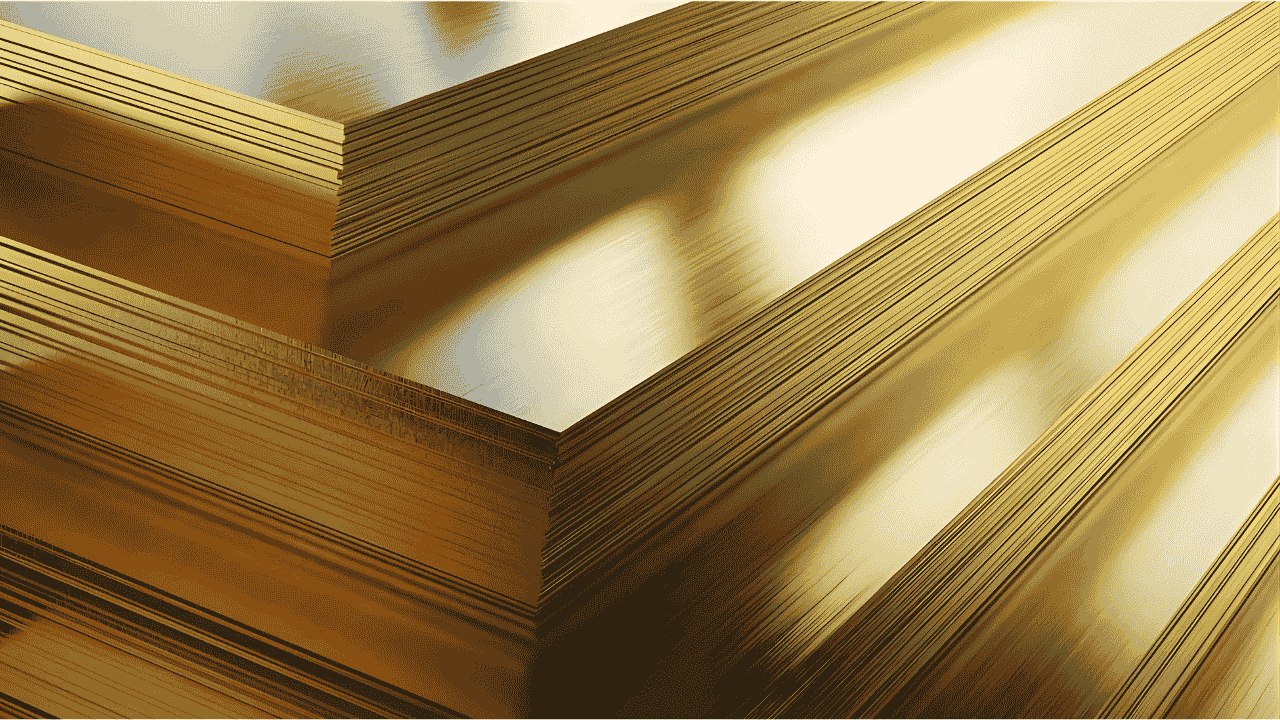
Brass — Cartridge Brass (C26000)
This copper zinc alloy (70/30) is highly formable with good structural strength. It is widely used by manufacturers to produce connectors, fasteners and decorative stamped parts. It is one of the most widely used stamping alloys still on the market.
Bronze Alloys
The Bronzes are higher-strength and more corrosion resistant than the pure Cuprums. The most typical copper stamping applications by using this alloy are marine hardware and industrial bushings. They are not likely to be affected by harsh operating conditions and still perform well for a long time.
Beryllium Copper (C17200)
C17200 is a material with good spring-like properties and high precision mechanical properties which are not magnetic. It is crucial for the performance of aerospace connectors and surgical instruments. Because of the exposure to hazardous beryllium dust, strict safety precautions are required.
Nickel Silver (C75200)
It is a copper-nickel-zinc alloy with a characteristic silvery color without silver. It is valued for its decorative finish by manufacturers of decorative hardware, and for its musical instrument finish. Its corrosion resistance and workability assures reliable use in precision stamping.
Stamping Copper In Industrial Sectors — The Complete Process
Here is the step by step process of copper stamping in industrial sectors:
Step 1: Design and Engineering
CAD software is used by engineers to accurately design the part and the die tooling. Tolerances are established at the outset and can be quite tight, such as ±0.001″ for electronics applications. The material, material grade and temper is finalized prior to the production process.
Steps 2: Production of raw materials
Copper coils and sheet stock are ordered to a specific gauge and temper. Strict inspection is done for surface defect and dimension accuracy of each batch. Cleaning removes oxides and contaminants that adversely affect downstream stamping quality.
Step 3: Die and Tooling Fabrication
Progressive, compound or transfer dies are made from hardened tool steel. The hardening process makes dies able to withstand thousands of repeated high impact stamping cycles. The tooling geometry is tested with trial runs on scrap copper prior to full production.
Step 4: Stamping Operations
Blanking is a precision cutting method that is used to cut flat copper shapes cleanly from sheet stock. Holes are created with piercing punches and angles, channels, and curves are created with bending. Drawing creates 3D shapes, and coining creates precise thickness and a good surface finish.
Step 5: Secondary Operations
Deburring eliminates sharp edges that may harm assemblies or injure handlers. Significant improvement to conductivity and corrosion resistance can be achieved by plating with tin, nickel or gold. Selectively used for part strength or stress relief through heat treatment.
Step 6: Quality Inspection
CMM dimensional checks provide an accurate check of all critical measurements to engineering specifications. Optical comparators are used to find out the geometric deviations that cannot be seen by the traditional measuring instruments. Functional and cosmetic acceptance criteria are verified by conductivity testing and visual inspection.
Step 7: Packaging and Delivery
The finished parts are sealed in anti-tarnish packaging as soon as they have been approved for final inspection. This helps to avoid oxidation and surface quality and conductivity decline during transit. As parts arrive in perfect condition, no extra cleaning is required for immediate assembly.
Hand/Craft Copper Metal Stamping — Tools and Setup
1. Choosing the Right Copper Sheet Gauge
The first step is to choose the write gauge for copper stamping. If you are beginner, you should use 24 gauge copper. Because thinner sheets have an easier stamping process but shorter lifespan. Thicker gauges require more powerful strikes. Match thickness to the desired durability of the project.
2. Understanding Metal Stamps
Use hard steel letter, number, and design stamps. The sizes vary from 1mm up to 6mm. Durable stamps make reliable impressions and are ideal for personalizing creatively.
3. Choosing the right Hammer weight and material.
Use a mallet made of brass or nylon that is 1-2 pounds. Steel hammers are not to be used as they hurt stamps. One controlled strike results in cleaner, more uniform impressions on copper.
4. The reason why a Steel Bench Block isn’t negotiable.
Sharp impressions are well supported by a steel bench block. Use a rubber mat to help minimize vibration, noise and overall stamping stability.
5. Correct use of a hole punch.
Before copper stamping use a 1.5mm or a 1.8mm punch. Holes should be 2mm away from edges to avoid tearing and for a professional looking jewelry attachment.
6. Sanding Copper Edges
Use 400 grit sandpaper followed by 800 grit sandpaper. Sand always in the same direction. Burrs are removed and smooth, comfortable, skin safe copper edges are created through progressive sanding.
7. Apply Liver of Sulfur Patina
Use a cotton swab to apply liver of sulfur in the stamped grooves. Then, polished the surfaces to add a strong contrast and enhance design visibility.
8. Polishing Cloth vs. Tumbler — Choosing Your Final Finishing Method
Use polishing cloths for pieces individually. Select tumblers for batch finishing. Tumbling enhances the efficiency, slightly hardens copper and makes it more scratch resistant during normal usage.
9. Positioning Guide – Using Painter’s Tape for Accurate Stamping
Use painter’s tape as a straight “stamping guide. During copper stamping process, line up stamps to keep them evenly spaced and prevent accidental hammer marks on surrounding copper.
10. Setting up Chasing Stylus and Foam Pad for Copper Embossing Work
For embossed designs a chasing stylus on a foam pad is used. Trace from the back, making raised patterns that match up with stamped text to make a beautiful look on copper.
Beginner’s Step-by-Step — Making Your First Copper Stamped Piece
1. Gather and Prepare Your Workspace
Use a sturdy, heavy table that won’t move when stamping. Your surface is safeguarded by a rubber mat that is effective at absorbing the impact of your hammers. Good overhead lighting will aid in the identification of any alignment problems prior to striking. Before beginning, have all tools within easy reach.
2. Cut Your Copper Sheet
Straight cuts of thinner copper gauges can be made easily with metal shears. A jeweller’s saw can be used to cut curves and complicated shapes with greater accuracy. Immediately after cutting, file or sand all edges to eliminate burrs. The sharps edges snag on skin and damage finished products in no time.
3. Anneal Your Copper Sheet
Copper has been work-hardened, so it doesn’t stamp well and tends to give shallow, rough impressions. Use a torch to heat the sheet until it is dull red. Immediately quench in water and dry thoroughly. Annealed copper is deep and crisp to take stamp impressions every time.
4. Clean the Copper Surface
The barrier between the stamp and metal is formed by the fingerprint and skin oils. Use a clean soft cloth to wipe all over the surface. Little oil will give you some messy looks throughout your design. The copper is even when the stamp is in contact with it because of a clean surface.
5. Design Your Stamp
Drawing a plan on paper first will save you money and avoid any mistakes that you can’t fix. Always measure letter or design spacing on paper first. To straight line on copper, use painter’s tape. Planning removes the guesswork that can be the bane of the beginning player.
6. Controlled Force Stamp
For copper stamping it is necessary to apply pressure to the stamp and make sure it is perpendicular to copper. Tap once with a brass hammer, with a strong but even tap. Do not rock the stamp sideways when striking or after striking. One good hit will yield much cleaner results than tapping hesitantly.
7. Inspect Each Impression and Alignment
Look closely at each impression after every strike, in good light. Light impression, re-strike with more force. Carefully re-align the stamp before making any second strike. Distorted impressions typically indicate that the stamp was not level during the strike.
8. Apply Liver of Sulfur Patina
Liver of sulfur solution is a chemical which darkens copper in seconds on contact with it. The stamped sections are recessed and will pick up the patina much deeper than raised surfaces. This contrast will make even easily letter stamps look professionally detailed instantly. Use in a well-ventilated space, as the solution has a strong smell of sulphur.
9. Sand and Polish the Piece
Use 400-grit sandpaper to lightly sand across the copper surface. This helps to eliminate patina from raised areas and maintains recessed darkness. Operate in one direction for an even, professional appearance. Sand and then polish with a polishing cloth or a tumbler for a final shine.
10. Punch Holes
Mark where you are going to punch your hole to get a good, even placement. Drill or hole punch for neat holes in the center. Use two flat nose pliers to insert a jump ring through the hole. Finish with a chain, earring wire or bail for a professional finish.
11. Seal Your Copper Piece
Copper will naturally tarnish over time and with exposure to air, water and skin. Renaissance Wax forms a invisible barrier that greatly inhibits the oxidation process. Clear lacquer will provide greater protection for items that are worn or handled regularly. Reapply sealant every few months to keep original piece looking like new.
Advanced Craft Techniques
The advanced craft technique used in copper stamping is given below:
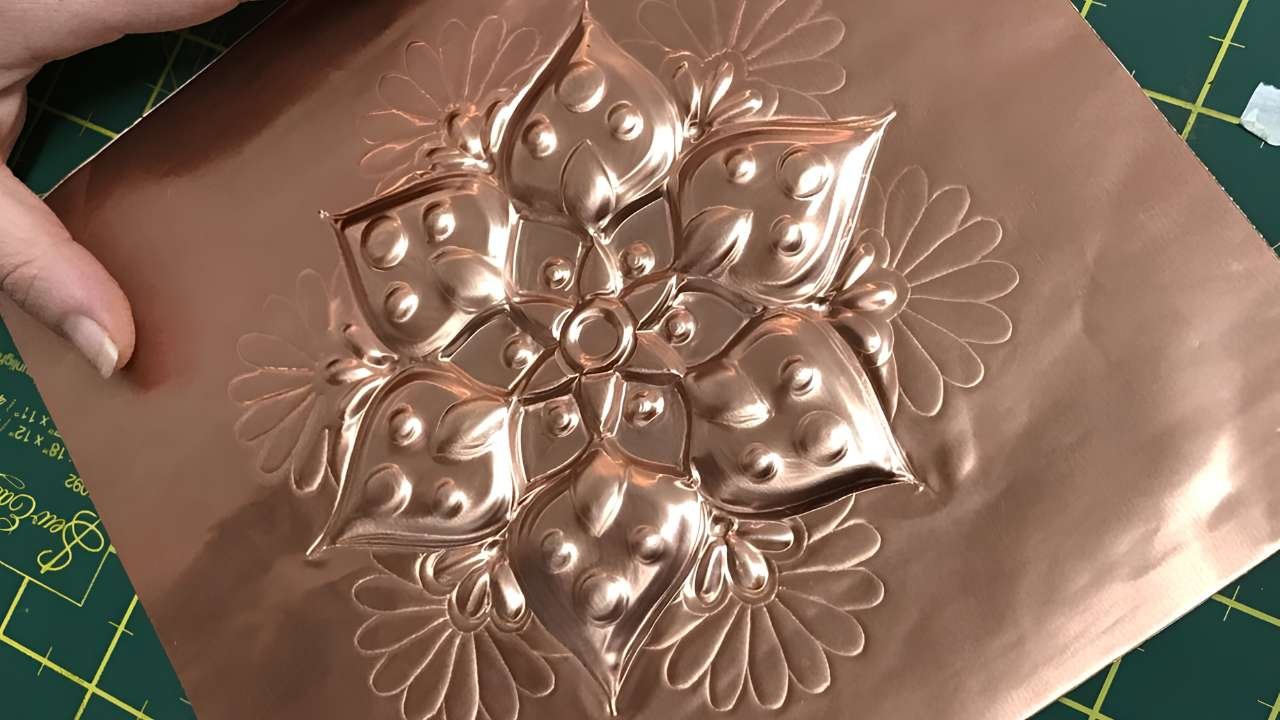
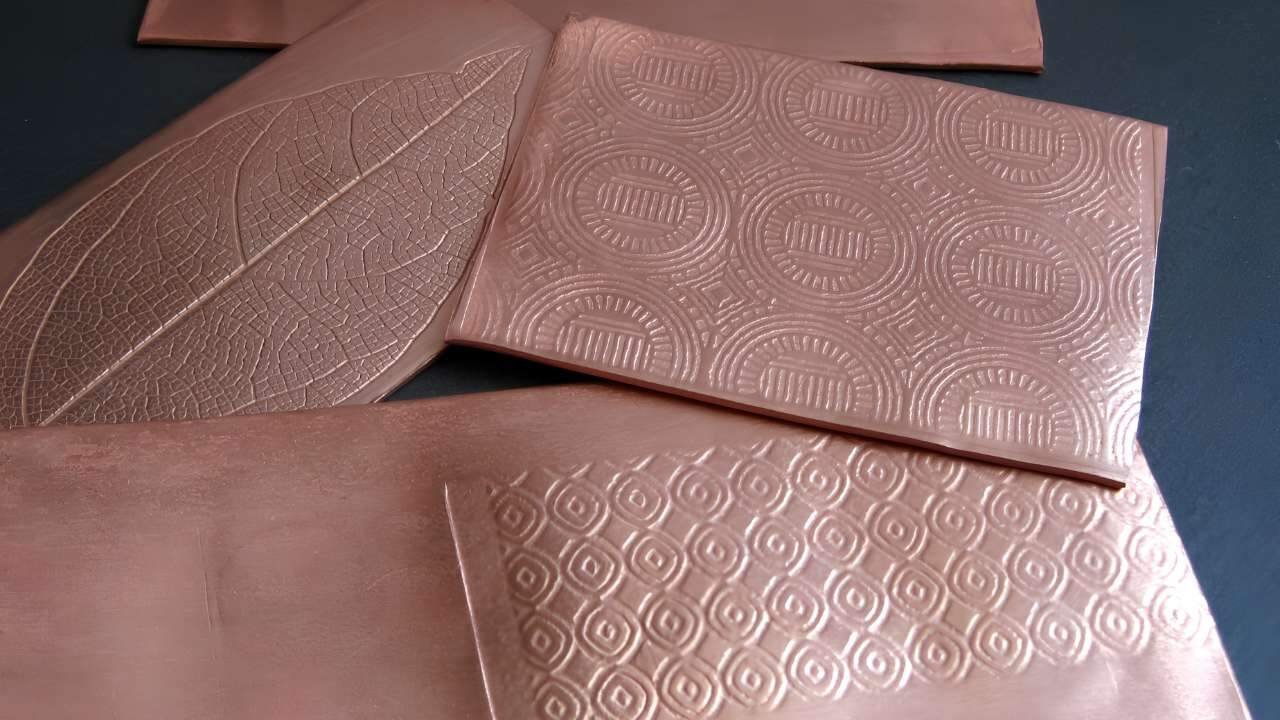
- Embossing: Embossing is a technique which uses a stylus over foam to shape the metal from the rear. Produces raised designs of repoussé in a controlled depth ideal for florals, portraits and organic designs.
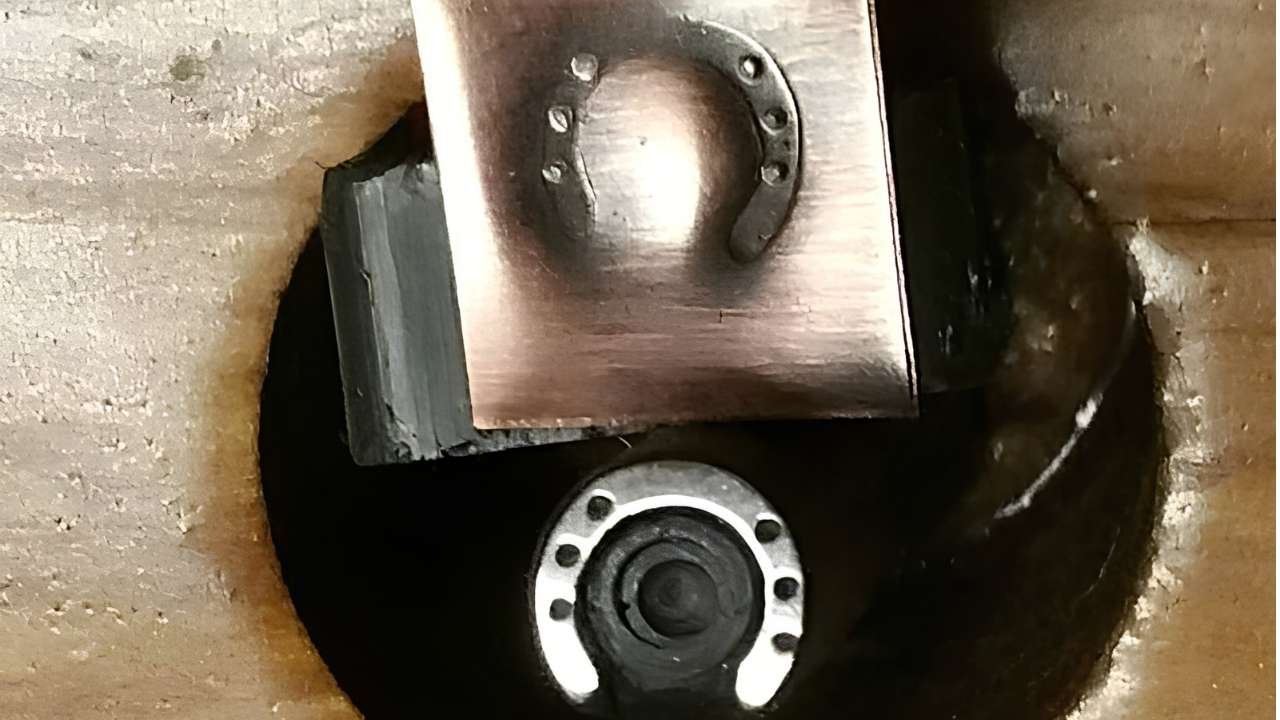
- Chasing: Embossed metal is chased from the front with special tools. It improves edges, enhances details and produces gallery quality decorative surfaces for intricate jewelry and figurative designs.
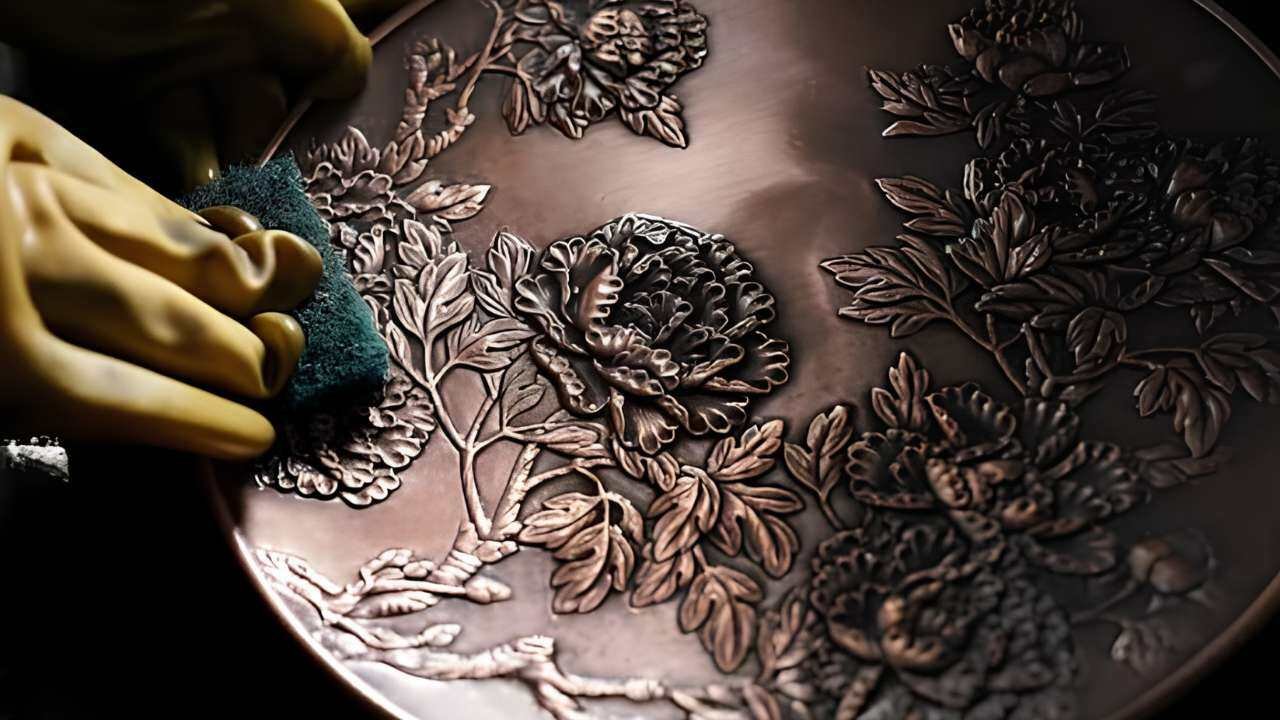
- Engraving: When a graver or burin is used to cut permanent lines into metal. It produces accurate monogram detail, portrait and heirloom quality designs, but with some hand control.
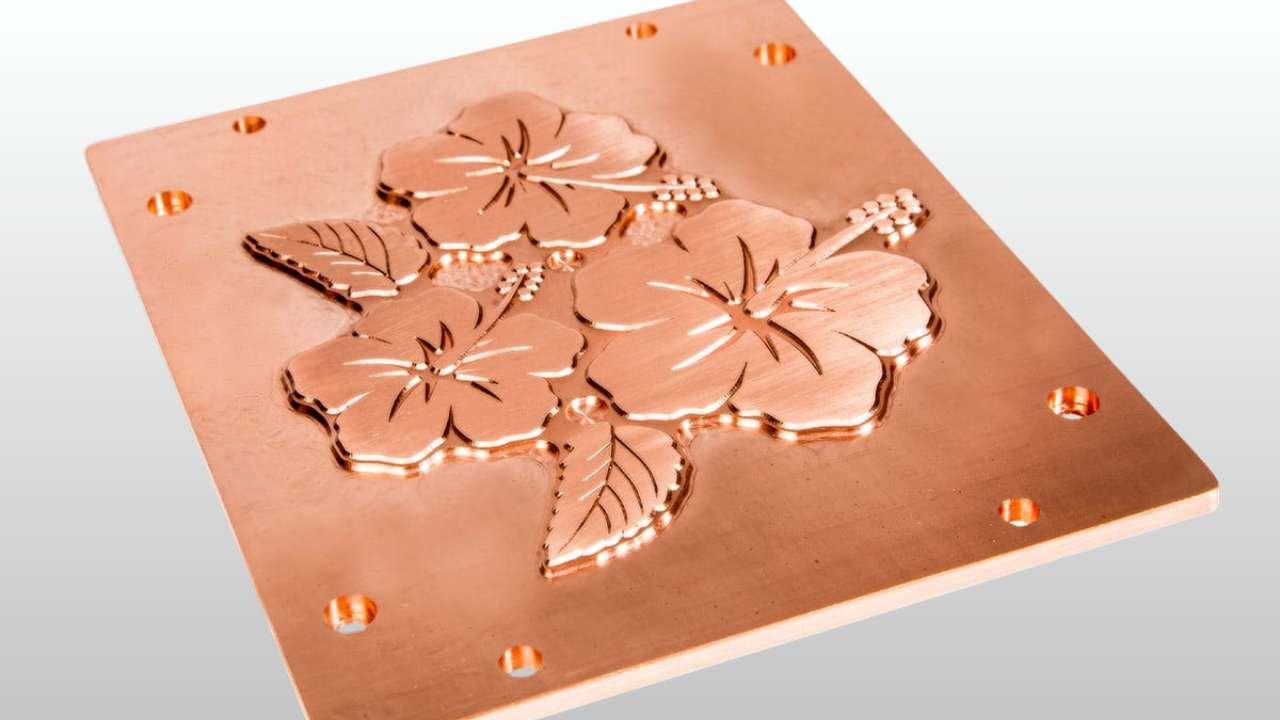
- Combination Stamping and Etching: Stamping creates a resist pattern which is then chemically etched to remove exposed metal. It results in designs that have a raised profile and recessed backgrounds, which are perfect for pendants, plaques and statement jewelry.
- Texture Rolling: Materials will be forced through a rolling mill using copper to create texture. It produces a surface pattern that lasts forever, for cuffs, earrings, layered jewelry and mixed-media metalwork.
Industrial Applications of Copper Stamping
- Electronics: Stamping of copper creates exact PCB terminals, connectors, lead frames, EMI shielding clips, and battery contacts, guaranteeing reliability in electrical performance, shielding from interference, and conductivity in electronic applications.
- Automotive: Relay terminals, fuse clips, ground straps and EV battery bus bars are produced with copper metal stamping for precision, durability, reliable circuit continuity and efficient high current electrical performance.
- Aerospace: Stamped copper components deliver reliable cockpit connectors, avionics shielding and corrosion-resistant fuel system fittings that operate reliably under the harsh operating conditions and environments in aerospace.
- Medical Devices: Stamping of metal copper for medical devices results in accurate surgical components, long-lasting diagnostic contacts, and antimicrobial surface parts, ensuring reliable conductivity, accuracy, hygiene, and medical equipment performance over the long term.
- Renewable Energy: Stamping of copper is used to manufacture solar connectors, wind turbine terminals, and EV charging components, ensuring excellent conductivity, vibration resistance, durability, and reliable electrical performance, which are essential for renewable energy systems.
- Telecommunications: Stamped copper is used for manufacturing bus bars, signal connectors and antenna hardware, which are essential for efficient power distribution, stable high-speed signal transmission, corrosion resistance, and reliable performance of the telecommunications infrastructure.
- Architecture and Design: Stamping copper is a method that ensures precision manufacturing, beautiful finishes, structural strength and consistent quality of production in large volumes, and is used to make durable copper door hardware, decorative copper lighting parts and detailed copper architectural panels.
- Plumbing: Stamping of copper is used to create valve seats, pipe fittings, and flow control parts, ensuring that they provide corrosion resistance, leak-proof precision, dependable fluid handling, and durability in plumbing systems.
Common Mistakes and How to Avoid Them
There are some common mistakes that we should avoid during copper stamping:
Craft/hobby mistakes:
- When striking at an angle, the die will drag across the copper, resulting in ghosted marks. Try stamping with a strong, straight hold before stamping on actual material.
- Briefly, impressions and cracks appear on previously rolled or worked copper, as it becomes brittle. To regain ductility, always anneal the sheet prior to stamping.
- Test all new stamps on a scrap first. This identifies pressure and alignment problems before they ruin valuable and costly copper sheet.
- If not fully supported, copper will bend when a strike is made, which will absorb energy and cause impressions to become distorted. Leave 3mm+ clearance on all sides.
- Wire brushes and abrasive compounds remove dirt and metal, creating a loss of fine stamp detail. Only soft cloth polish may be used on stamped copper.
Industrial process mistakes:
- Wrong clearance results in burrs or tears in the cutting process. Copper needs to have a die clearance that is set to 5-8% of the actual thickness of material.
- Galling and tearing of the die caused by friction between die and dry copper. Use a copper compatible stamping lubricant prior to all draws.
- Progressive forming is a work-hardening process that work hardens copper very quickly. If no annealing is done between stages, the metal becomes brittle and would then crack in an unpredictable manner during the final forming operations.
Finishing and Surface Treatment Options
Both industrial and craft contexts share finishing as a critical final step after copper stamping process:
Industrial finishes:
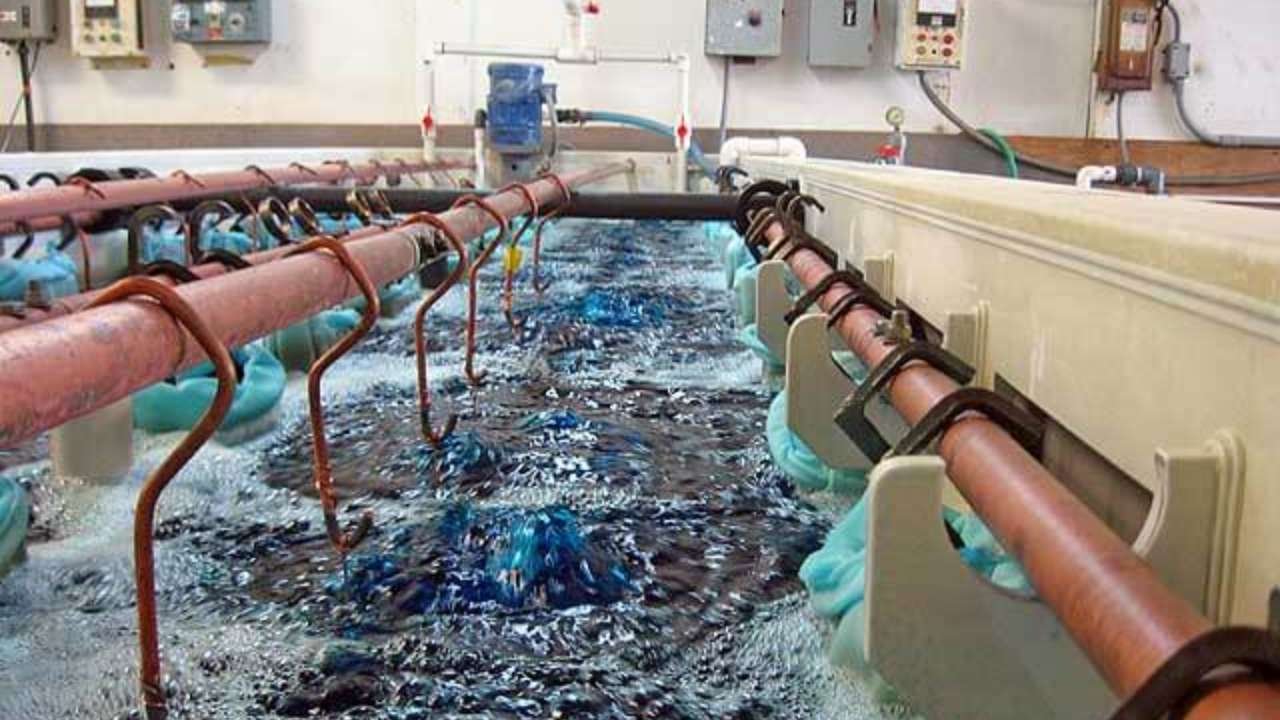
Electroplating
Electroplating is a process that electrochemically deposits metal on copper. Tin provides solderability, nickel provides hardness, gold provides good electrical performance and reliability, and silver provides cost-effective performance in high-performance electrical applications.
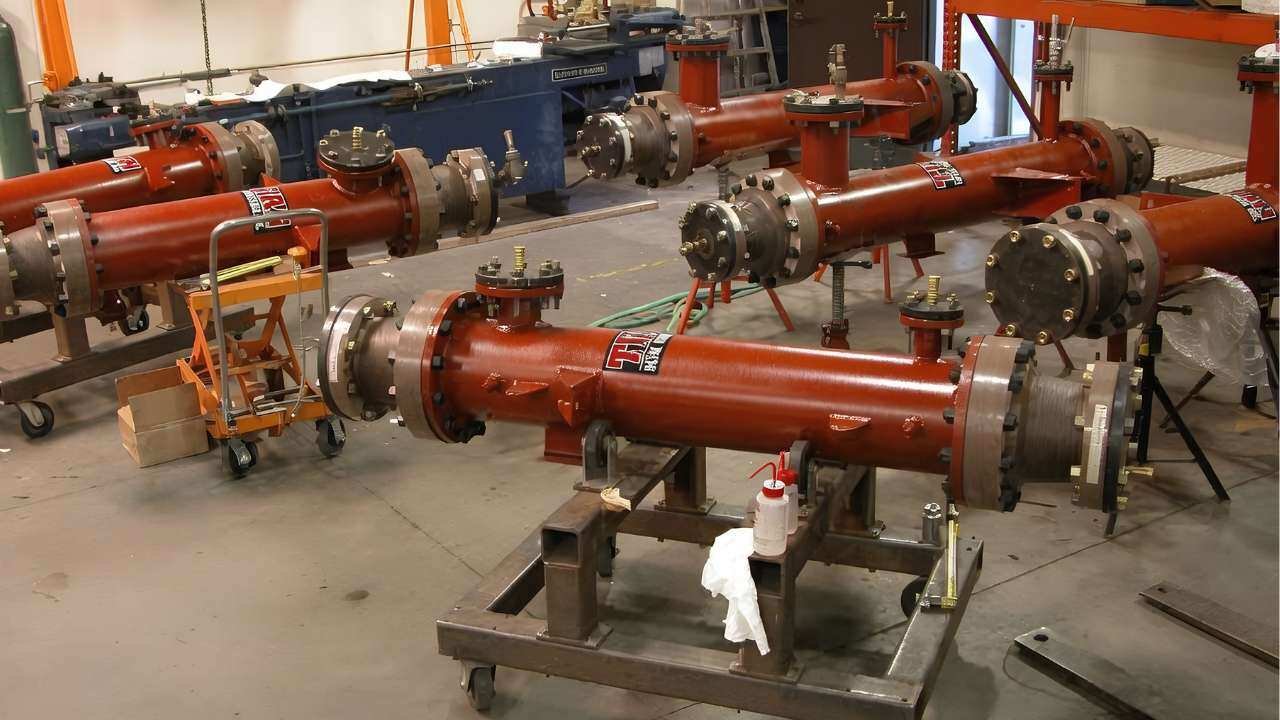
Passivation
Passivation chemically stabilizes the natural oxide film on the copper without the use of foreign coatings. This controlled treatment greatly increases the corrosion resistance, allowing lower maintenance requirements for industrial assemblies and manufactured parts over a long period of time.
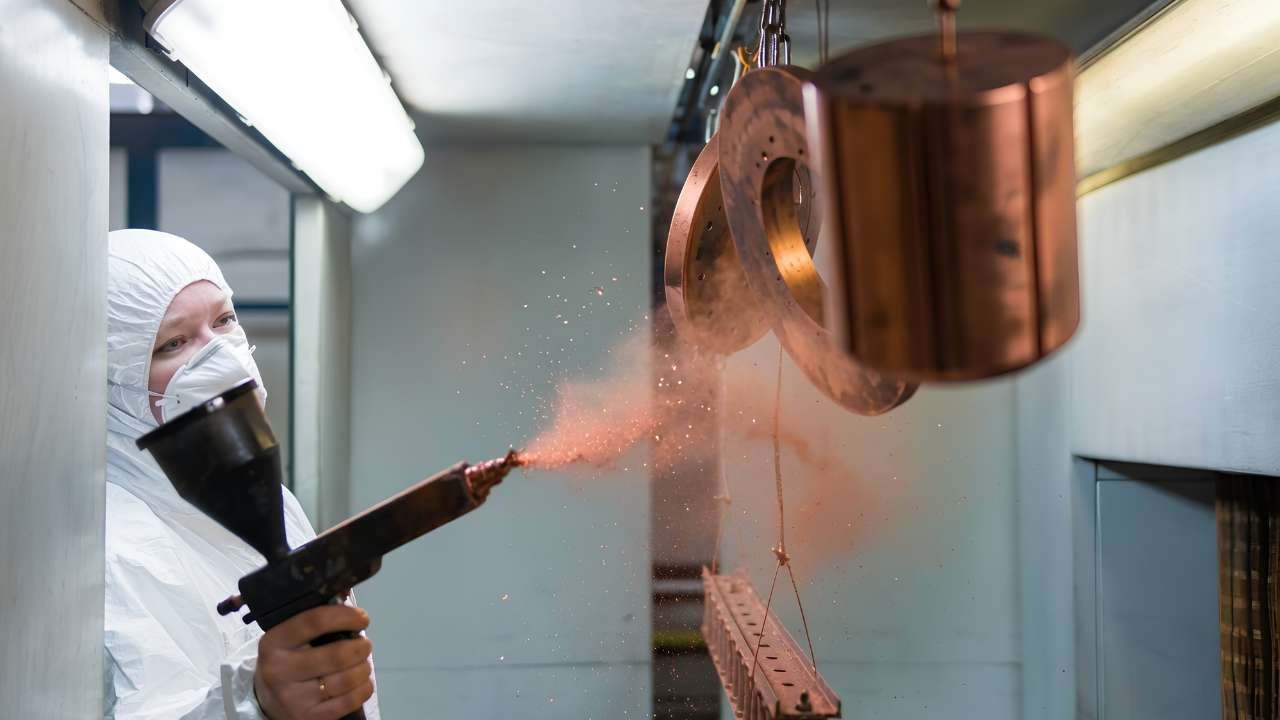
Powder Coating
Powder coating is a method of electrostatically spraying polymer onto the copper and oven baking it in place. It is used for façades and railings as it lasts longer than liquid paint against UV, moisture and chipping, as specified by architects.
Lacquering
Lacquer forms a clear oxygen barrier, thus protecting decorative stamped copper from tarnish. Bonds well, is not affected by humidity or handling and holds its original polished look much longer without needing to be repolished.
Craft finishes:
Liver of Sulfur Patina
Liver of sulfur is a chemical that combines with copper to create full brown to black tones. The craft standard for antiquing copper stamping jewelry and hardware, color depth is determined by concentration and temperature.
Ammonia Fuming
Copper and ammonia vapor will react in a closed container to form a blue-green verdigris. Patina depth can be controlled by exposure time, so the patina can be created in a controlled timeframe, that can be in hours, but is effectively equivalent to the centuries of natural weathering.
Salt and Vinegar Patina
The patinas are created with acetic acid and salt and the copper forms naturalistic oxidized layers. Multiple thin applications result in an organic tone that can be repeated only with difficulty using mechanical finishing methods.
Wax Sealing
Renaissance Wax is a microcrystalline layer that seals copper without changing its appearance. It is a completely reversible product and is trusted by conservators and is unparalleled in the protection of both polished surfaces and established patinas.
Clear Lacquer Spray
Lacquer spray adheres readily to copper and can effectively prevent tarnish and humidity. It is reversible with chemical strippers, which is its major consideration.
Tumble Polishing
Tumble polishing involves the rotation of copper parts along with a certain abrasive media that will eliminate scratches and oxidation uniformly. It provides reproducible mirror quality finishes on production scale which is difficult to obtain in manual polishing.
Satin Finishing
Satin finishing goes through the sandpaper grits up to 1500, removing the previous sandpaper finish. The outcome is a low-reflectance surface perfect for contemporary metalwork where subtle sophistication is preferred over gloss.
Stamped Copper Parts Finishing Methods — Comparison Guide
Here are some finishing methods in comparison table that are applied after copper stamping:
Finish Type | Context | Appearance | Durability | Skill Level | Cost |
Tin Electroplating | Industrial | Silver-gray | Very High | Specialist | Moderate |
Gold Electroplating | Industrial | Gold | Very High | Specialist | High |
Nickel Electroplating | Industrial | Silver | Very High | Specialist | Moderate |
Lacquer (industrial) | Industrial/Craft | Clear/natural | High | Low | Low |
Liver of Sulfur Patina | Craft | Brown–black antique | Moderate | Beginner | Very Low |
Ammonia Fuming | Craft | Blue-green verdigris | Moderate | Beginner | Very Low |
Tumble Polish | Craft | Bright mirror | High (physical) | Beginner | Low–Moderate |
Renaissance Wax | Craft | Natural with sheen | Moderate | Beginner | Low |
Powder Coat | Industrial/Architectural | Matte/gloss color | Very High | Specialist | Moderate |
Cost Factors and Budgeting for Beginners
Craft/hobby starter costs:
As a hobby, a little investment is required to get started with metal stamping. A starter kit with copper sheets, three to five stamps, a hammer and a bench block costs $50 to $120. A complete alphabet and number stamp set will cost an additional $40-$80. Patina chemicals and finishing supplies cost approximately $20-$40 extra. The average first-time buyer spends $110 to $240 overall to hit the water and get started with their craft.
Industrial cost factors:
The highest initial cost for copper product stamping is tooling and die fabrication. Simple dies are $500 and up and progressive dies for complex parts are $5,000 to $50,000 and up. But when volumes of more than 1,000 pieces are required, stamping becomes very cost effective. The greater the volume produced, the lower the per-unit cost. The price of copper is variable, and is set against the LME price. Secondary processes such as plating and assembly provide added value and functionality. Get several supplier quotes, and inquire about tooling amortization over your total run quantity.
Conclusion
Copper stamping offers a blend of precision, versatility, and efficiency, making it a valuable tool for both industrial production and creative craftsmanship. Choosing the right alloys and gauges, mastering the tools, techniques and finishing methods – all of these steps can have an impact on the outcome. From high-performance industrial components to personalized handcrafted creations, knowing the unique properties of copper can help ensure longevity and reliability. Copper stamping can be used in a variety of professional and artistic applications, and with proper preparation and practice, the possibilities are endless.
FAQs
What is included in copper stamping kit?
Copper stamping sets come with necessary tools for making personalized jewelry and decorative metal items. Typical components consist of stamping punches, jeweler’s hammer, steel bench block, copper blanks, shaping bar, sandpaper, positioning tape, finishing supplies.
What are metal blanks for stamping?
Metal stamping blanks are flat pieces of metal that are pre-cut for use in engraving, stamping, and personalization projects. They are good for maintaining impressions, easy to make, suitable for various shapes, and can be used for jewellery, tags, ornament, keychain, decorative accessories.
What is the best material for metal stamping?
Strength, appearance, corrosion resistance, conductivity, and requirement for the intended application are criteria for material selection. Steel is durable, stainless steel is resistant to corrosion, aluminum is lightweight, and copper, brass and titanium have special properties.
What gauge is best for copper metal stamping blanks?
The thickness of the copper blank has a significant impact on durability, stamping quality, flexibility, and the performance of the finished product. Jewelry is made with 24 to 20 gauge, 18 gauge makes for a stronger bracelet and thicker gauges are effective for heavy use in industrial, labelling and enameling.
How does copper progressive stamping differ from blanking?
Blanking is a metal sheet cutting process that forms individual flat work pieces in one cut. Overall, progressive stamping can significantly boost production efficiency, accuracy and manufacturing consiste ncy by performing sequential forming, piercing, bending and cutting processes in a single operation.
What designs work best on a copper stamp for ice?
Cleaner impressions are made with simple, bold designs as heated metal will melt the ice surface evenly. Thick lines, monograms, geometric pattern, and uncomplicated logos provide sharp detail and avoid blurred or distorted final results uniformly.
Why use silver on copper stamp instead of pure silver?
The alloy of copper and silver is a perfect mix of beauty and durability, as well as low manufacturing expenses. Copper enhances the structure, lowers the costs, decreases the possibility of scratching, and maintains silver’s elegant look to create durable decorative products.